
Whether you plan to use an internal chimney pipe system, run it along an exterior wall, or use an existing masonry chimney, this guide walks you through each step of the process to ensure a safe and efficient installation.
1. Choose the Right Location for Your Stove
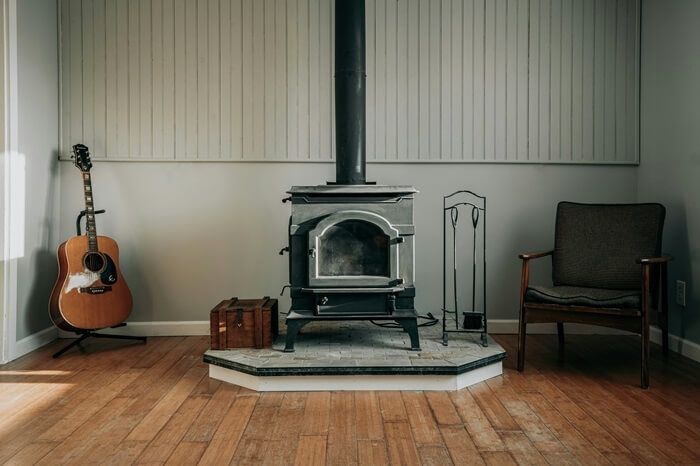 Before starting, select a safe and code-compliant location for your wood stove. Follow local U.S. building codes and manufacturer clearances. Key considerations include:
- Safe Clearances: Ensure the stove is far enough from combustible materials like walls, curtains, and furniture.
- Ventilation: Good airflow is essential for clean combustion and draft performance.
2. Understand Permits and Code Requirements
Local Building Codes & Inspections
Many U.S. states and counties require building permits for stove installation. Consult your local building department to verify requirements for:
- Chimney height and clearance from rooflines
- Approved chimney pipe types (e.g., UL-103 HT rated Class A pipe)
- Carbon monoxide safety and clearance zones
3. Choose the Right Chimney Pipe System
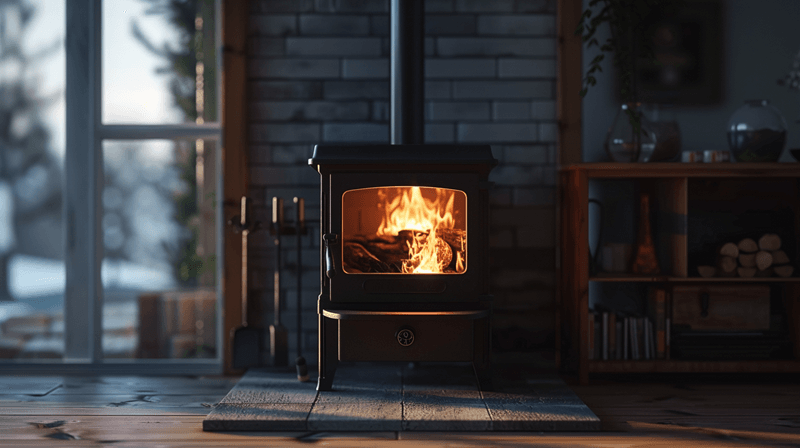
You have three primary options for venting your stove:
Option 1: Interior Through-the-Roof Chimney System
- Best for heat retention — the chimney remains warmer indoors, improving draft.
- Requires penetration of ceilings and roof, with firestop and attic insulation shields.
Option 2: Exterior Wall Chimney System
- Often easier to install, especially during renovations or in finished homes.
- Chimney runs up the outside wall with insulated Class A chimney pipe.
- Requires support brackets and attention to insulation to reduce condensation.
Option 3: Flexible Chimney Liner in Masonry Chimney
- Ideal for older homes with existing brick or masonry chimneys.
- Flexible UL-listed stainless steel liner improves safety and draft.
4. Step-by-Step Installation Guide
Step 1: Mark Your Chimney Path
- Plan the flue route and mark exit points for wall thimbles or roof penetration.
- Use chalk lines or templates to align pipe supports and thimbles accurately.
Step 2: Set Up the Stove
- Place the stove on a non-combustible hearth (stone, tile, or concrete).
- Ensure proper clearance to combustibles and that the stove sits level.
Step 3: Install the Chimney Pipe System
Interior Installation
- Cut ceiling and roof openings for the pipe with a minimum 2" clearance to framing.
- Install pipe supports, firestops, and flashing; extend pipe at least 3' above roofline and 2' above anything within 10'.
Exterior Installation
- Connect the stove pipe to an insulated wall thimble.
- Mount chimney pipe vertically on the exterior wall using brackets every 4 to 6 feet.
- Top with a cap and make sure it meets required clearances above the roof.
Flexible Liner Installation
- Drop the liner down the chimney flue and connect it to the stove with an adapter.
- Secure the top with a chimney cap and flashing plate.
Step 4: Finishing and Testing
- Seal all joints: Use approved high-temp silicone or gaskets.
- Install a chimney cap: Prevents rain, birds, and debris from entering.
- Test draft: Light kindling and observe smoke draw to confirm airflow.
5. Safety and Maintenance Tips
- Clean your chimney annually: Especially during heavy use in winter months.
- Use only seasoned hardwood: Reduces creosote buildup and improves efficiency.
- Install carbon monoxide detectors: A must-have near bedrooms and the stove area.
Need Help or Have Questions?
We're here to help. Check our FAQ page or contact our experts for help choosing the right components or planning your installation.






