
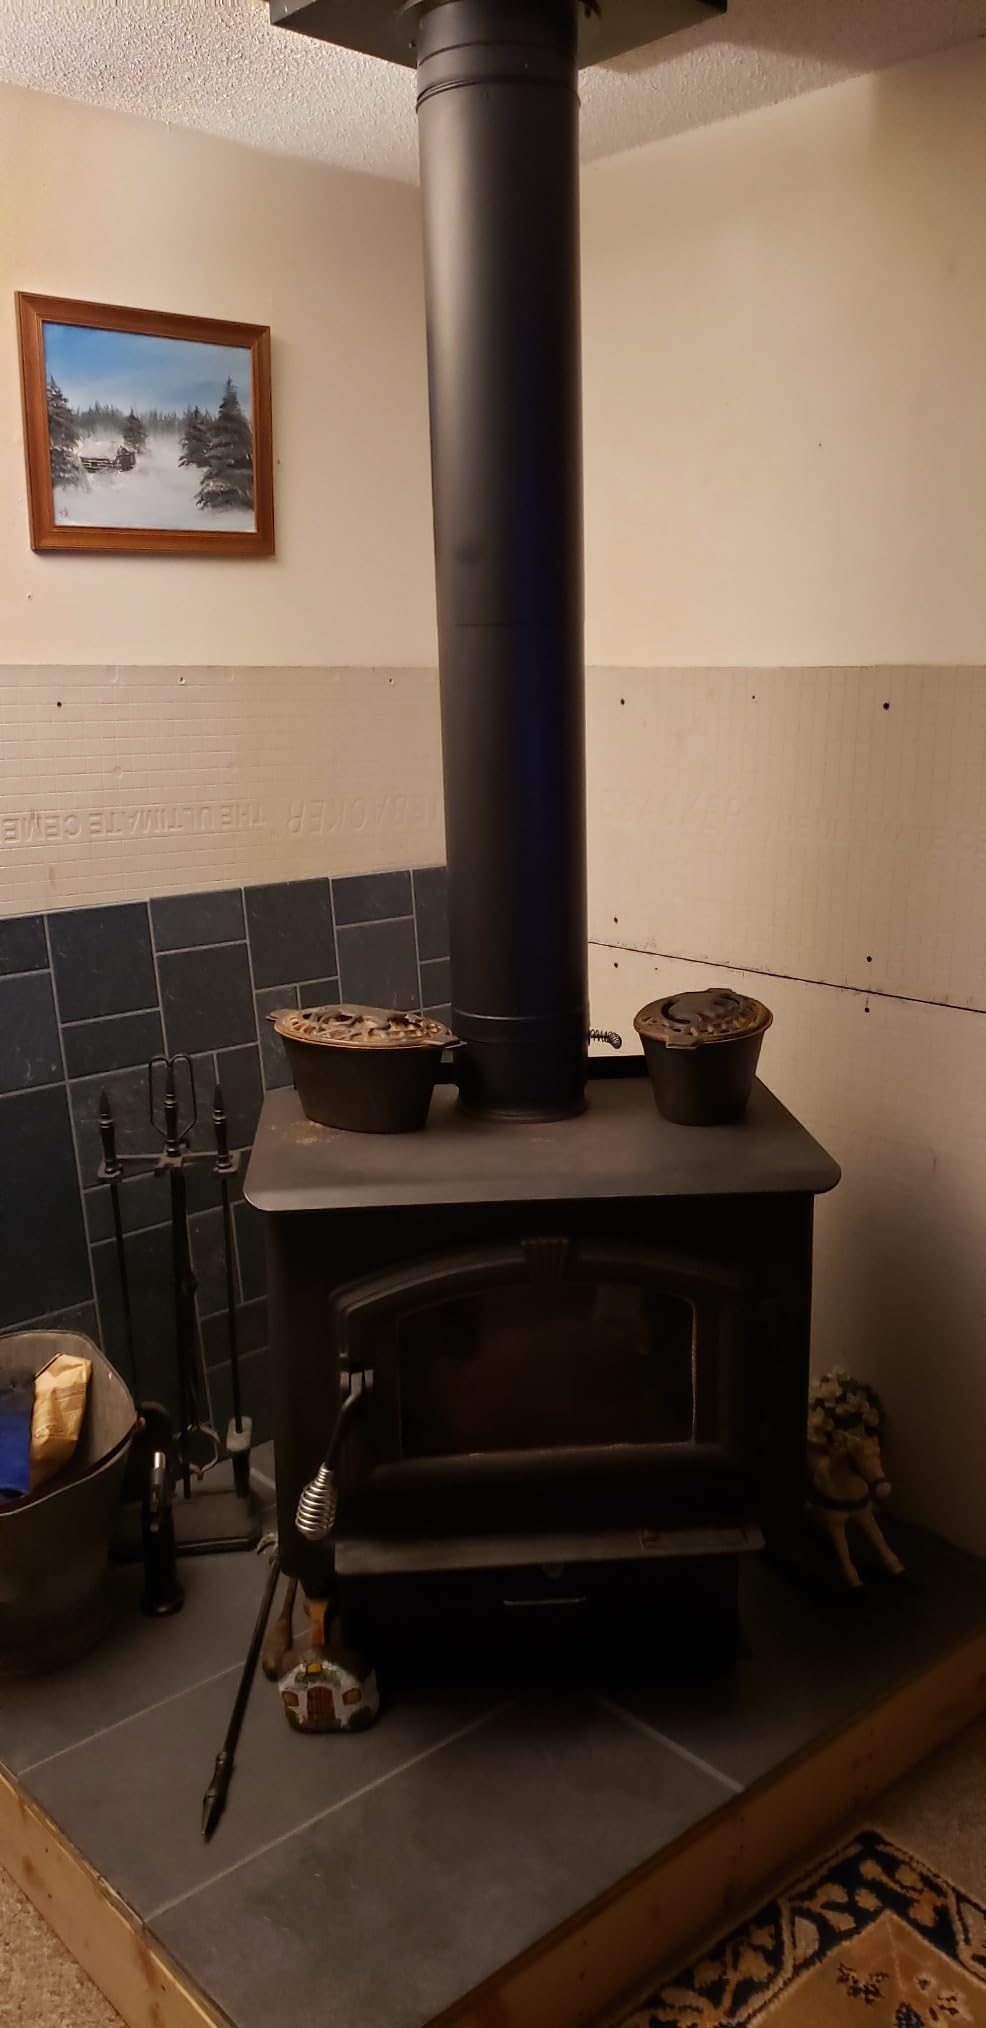
The best stove pipe for a wood-burning stove is a single-wall or double-wall black steel connector that matches your stove's flue collar diameter - typically 6 or 8 inches. Single-wall pipe radiates more heat into the room, while double-wall keeps flue gases hotter for stronger draft. Both types are for indoor use only.
Read MoreInfo
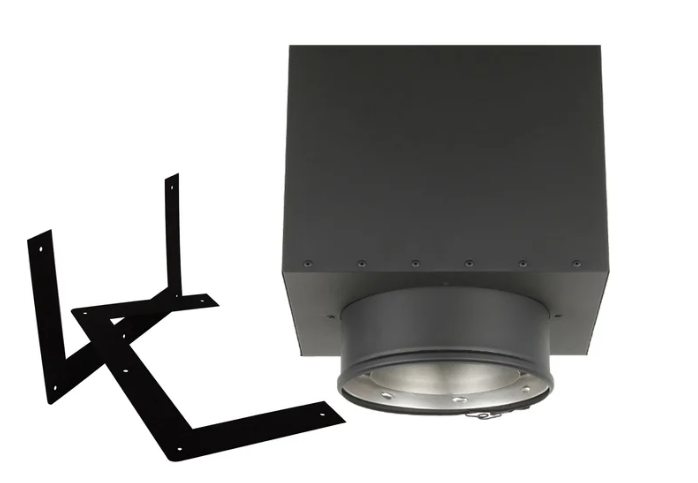
Every Class A chimney installed inside a house needs a ceiling support box where the stove pipe connects to the insulated chimney pipe. Additional components - attic insulation shields, floor/ceiling radiation shields, and roof support brackets - depend on your ceiling type and how many floors the chimney passes through. This guide covers all five installation scenarios so you pick the right parts the first time.
Read More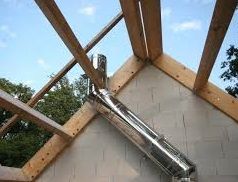
Measure the horizontal distance between the centers of your two elbow positions, then use an offset chart to find the rise and connector pipe length. For Class A chimney pipe (UL 103 HT listed), you can choose between 15-degree and 30-degree elbow kits. Per NFPA 211, the connector between elbows must not exceed 72 inches, and you are limited to two offsets (four elbows) per chimney system.
Read More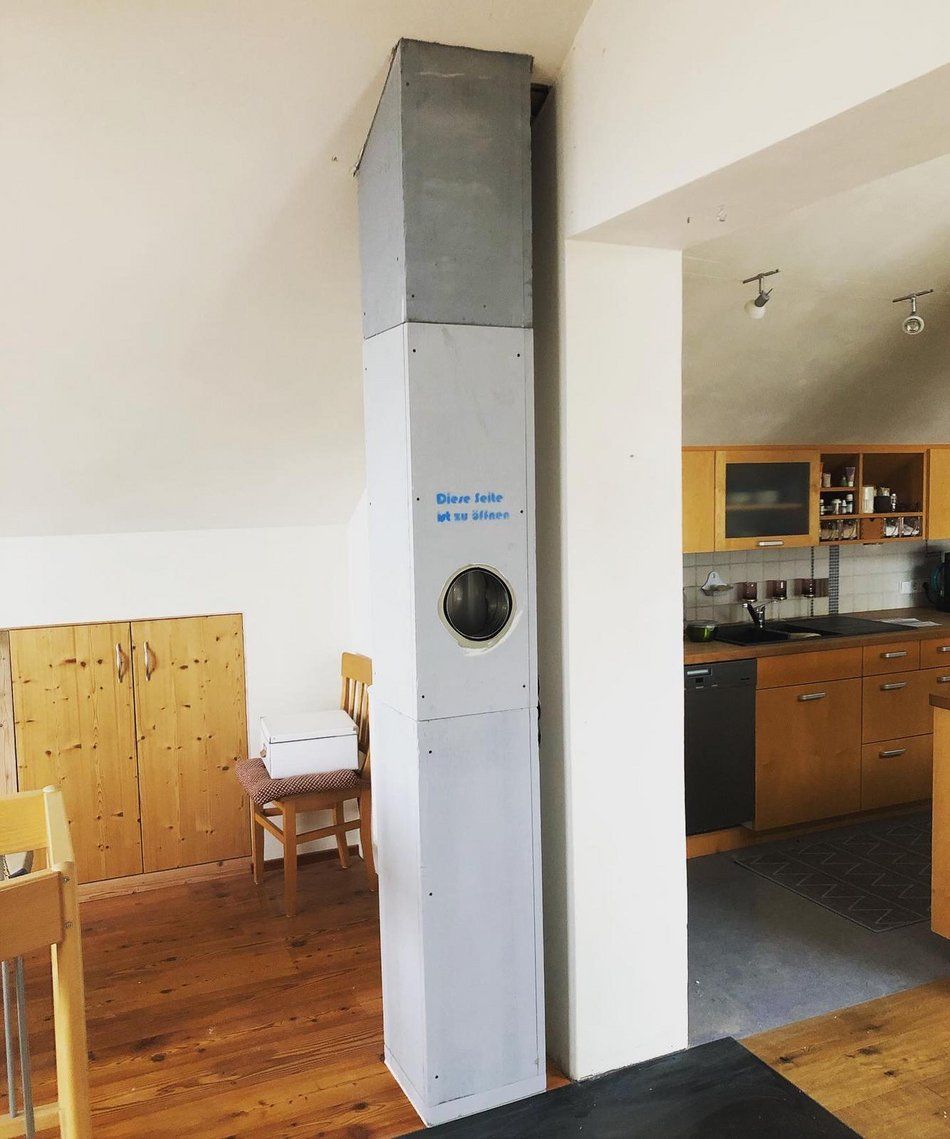
Yes, you should box in a chimney pipe on the upper floor. U.S. building codes (NFPA 211 and the IRC) require Class A chimney pipe to be enclosed in a fire-rated shaft or chase wherever it passes through a finished living space. This enclosure maintains the required 2-inch clearance to combustibles and creates a vertical fire barrier between floors.
Read More
Texas follows the International Residential Code (IRC), which references NFPA 211 for chimney and venting systems. Most cities require a building permit and post-installation inspection for any wood stove or chimney pipe installation. No statewide license is required for DIY chimney work, but your installation must meet IRC clearance, height, and material requirements to pass inspection and keep your homeowner's insurance valid.
Read More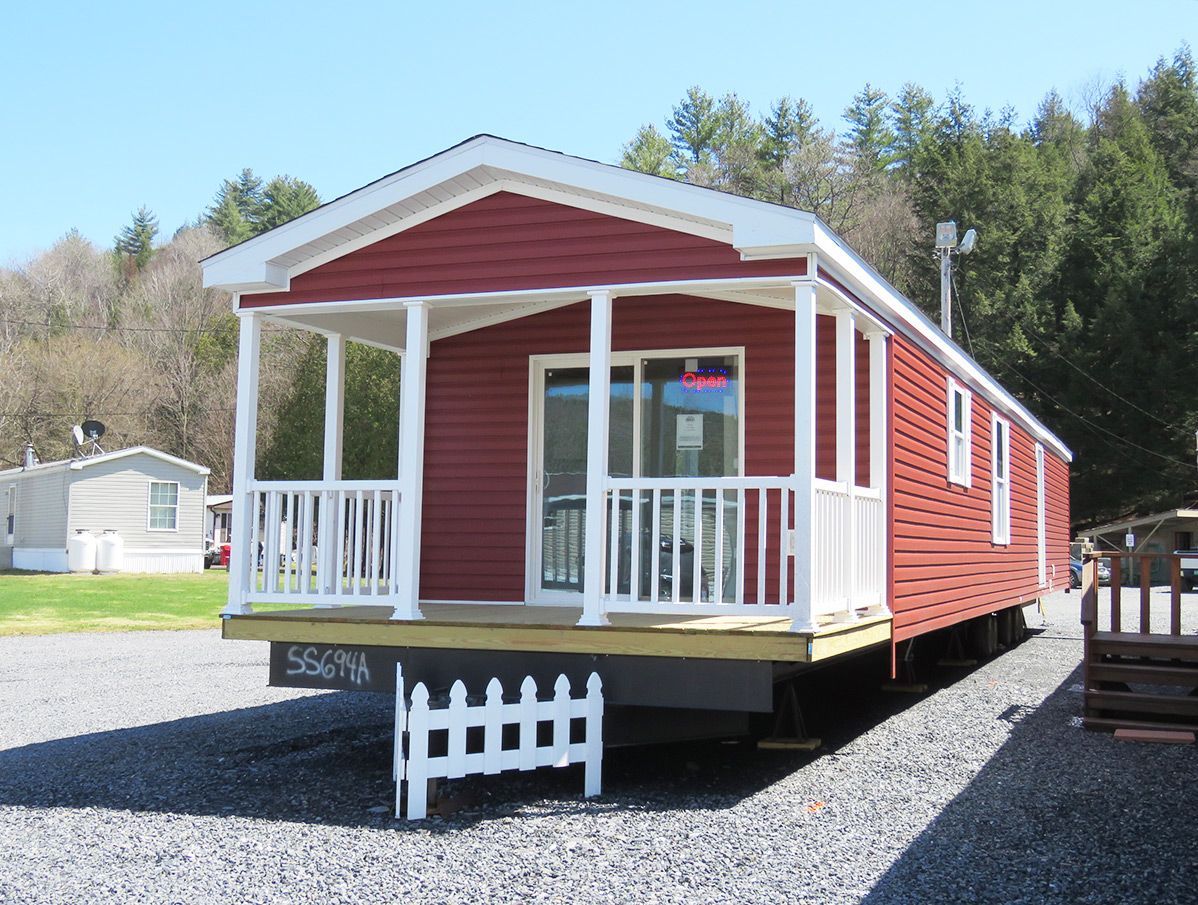
Yes, a listed wood stove can be installed in a manufactured home when the exact appliance is approved for that use and the installation follows its listing, federal requirements and applicable local rules.
Read More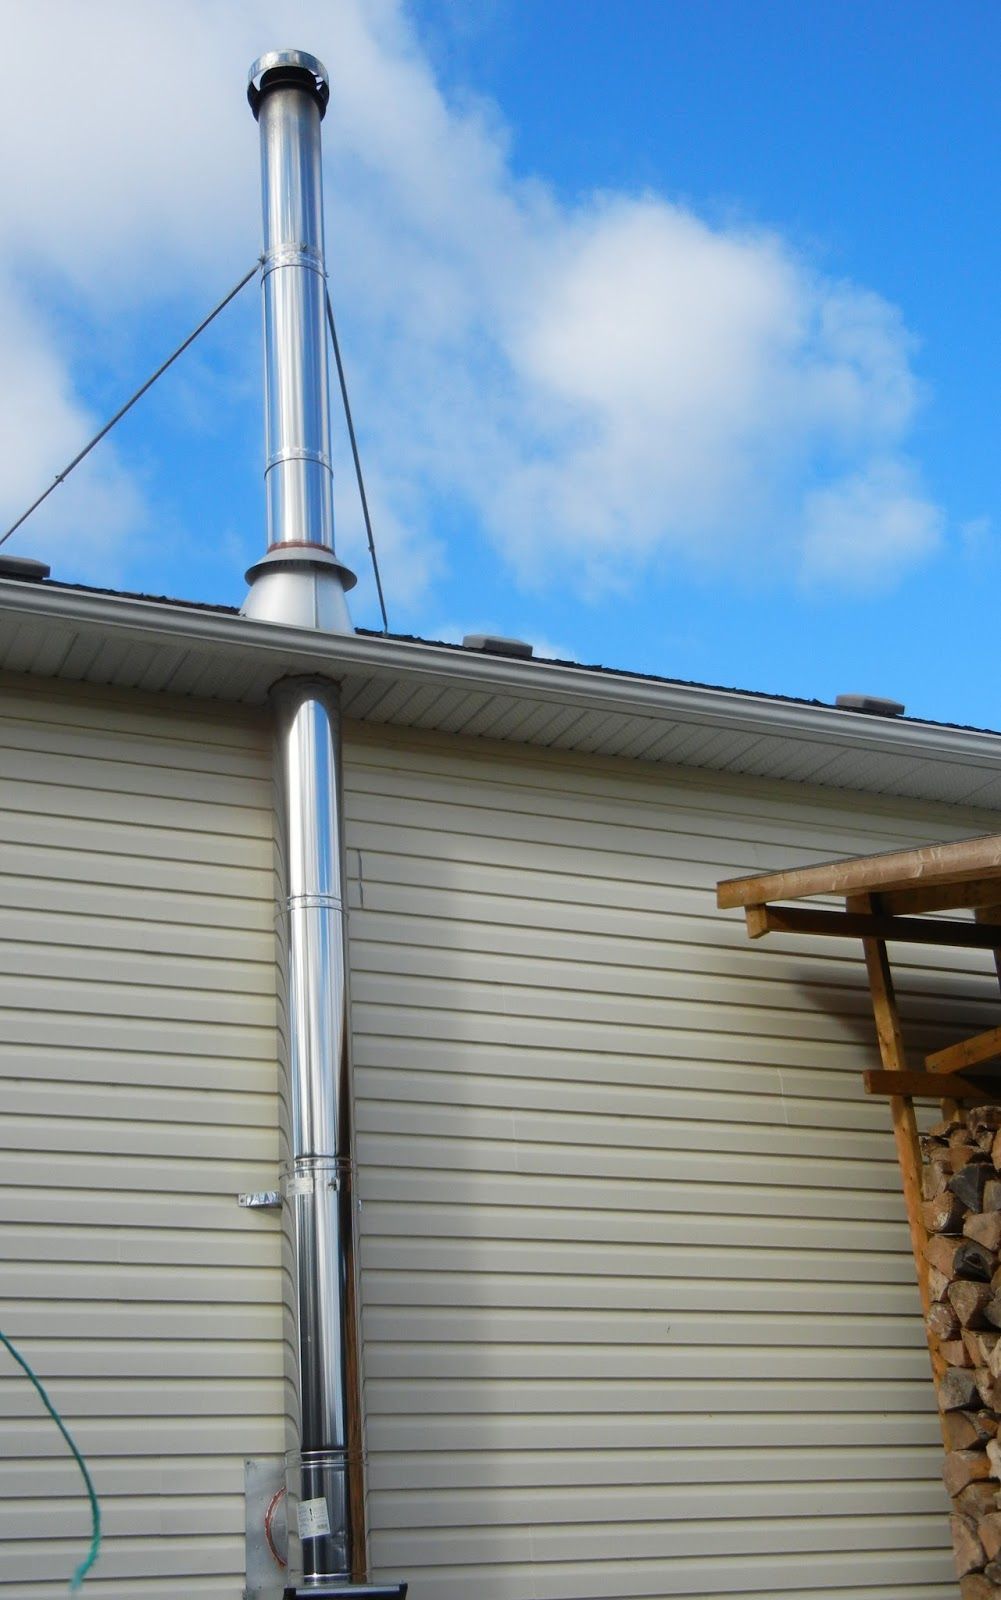
I installed a UL 103 HT-listed Class A chimney pipe straight through my cabin roof in one afternoon. Here is exactly how I did it - from measuring the chimney path to sealing the roof flashing - plus the tools, clearances, and safety specs you need to know.
Read More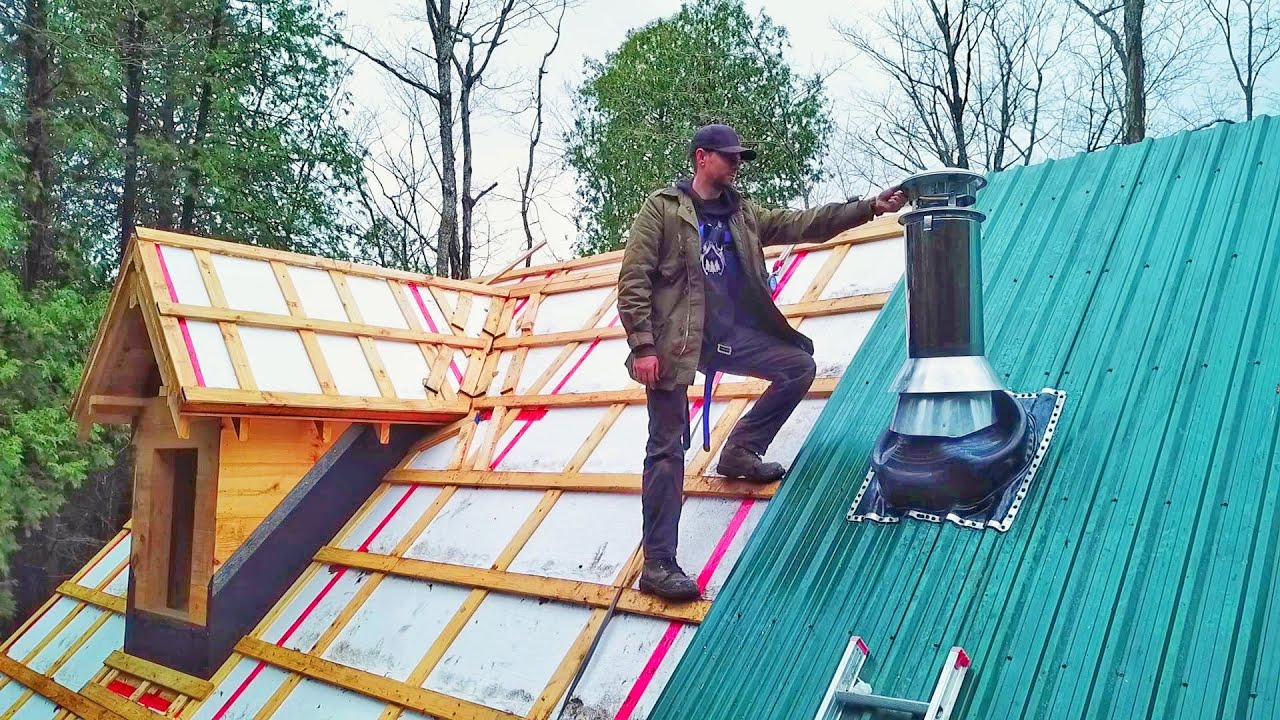
I ran a Class A insulated chimney pipe straight up through two floors and the roof of my two-story log home in Vermont. Here is how I planned the route, maintained 2-inch clearance to combustibles at every level, and completed the full installation in one day.
Read More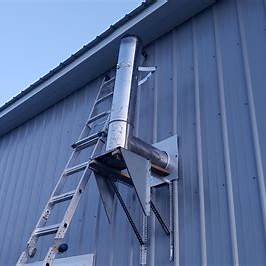
You install a Class A chimney kit in a shed by mounting a UL 103 HT rated, double-wall insulated pipe system that passes through the ceiling and roof with proper clearances. The kit includes insulated chimney sections, a ceiling support box, roof flashing, storm collar, and rain cap. With the right tools and a free weekend, most DIY homeowners can complete this installation safely and to code.
Read More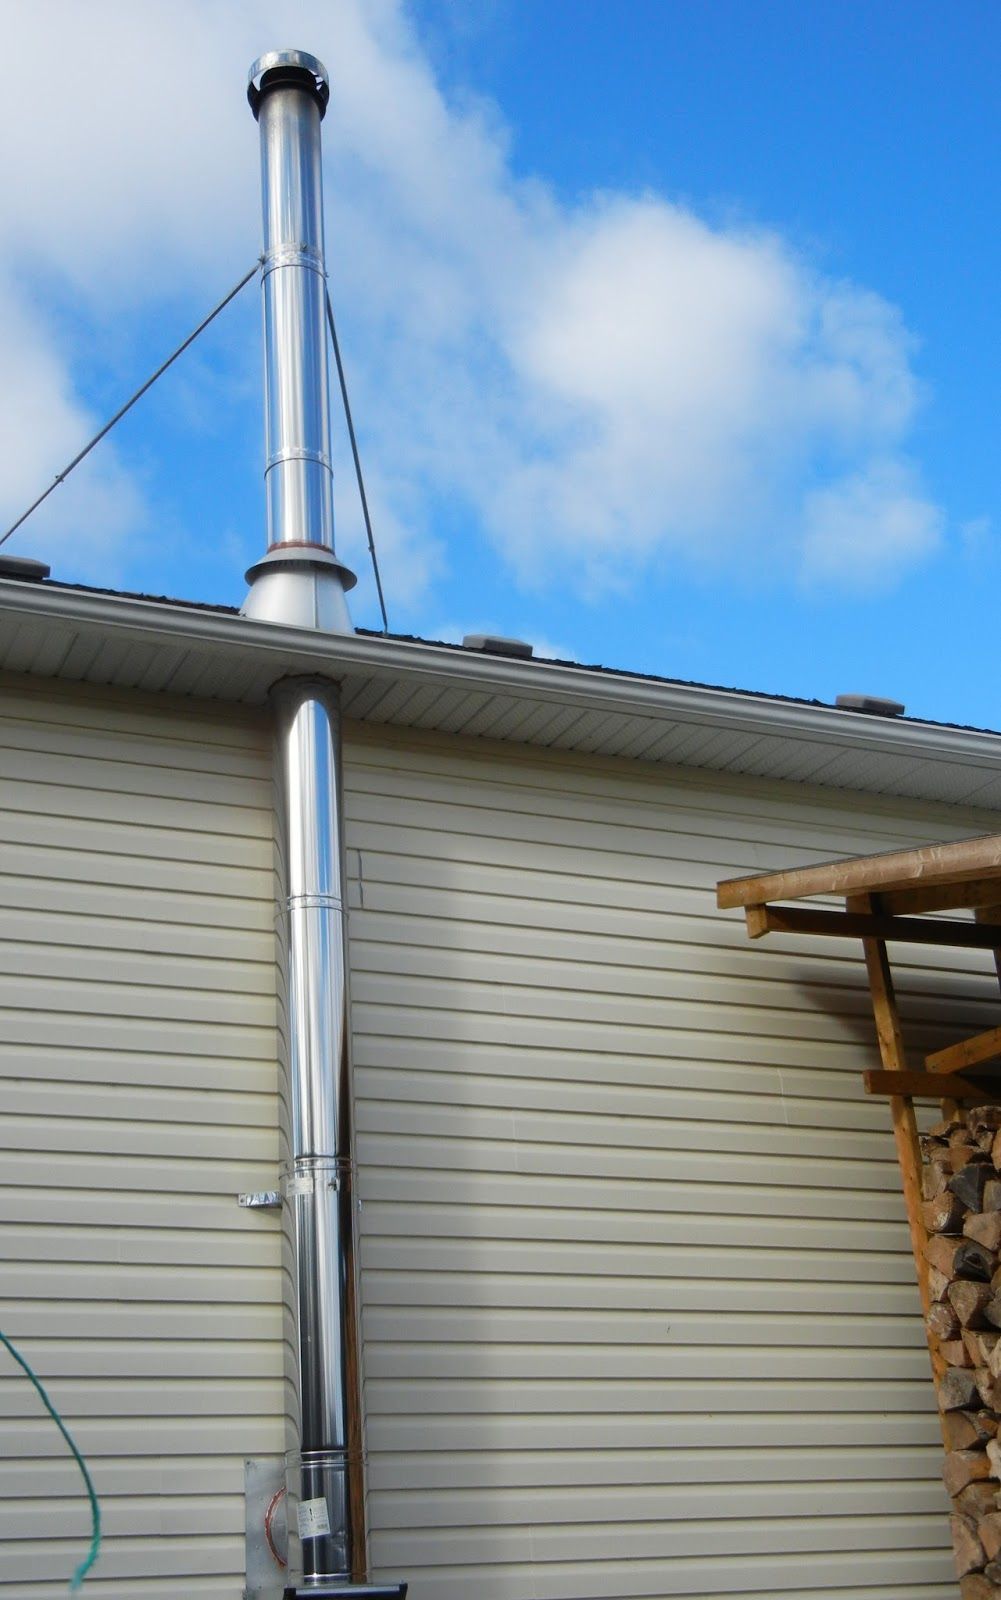
To install a through-the-wall chimney in a garage, mount a wall support bracket and thimble on an exterior wall, connect a tee fitting, and run UL 103 HT listed Class A insulated chimney pipe vertically to the required height. All components must maintain 2-inch clearance to combustibles per NFPA 211. This guide covers every step, from cutting the wall opening to final inspection.
Read More




