
A wood-burning stove can be a great source of heat and ambiance in your home—but only if it’s installed safely and correctly. This guide walks you through the complete process, from choosing the right flue system to final installation tips. Whether you’re venting through the roof, an exterior wall, or using an existing chimney, this article has you covered.
Choosing the Best Location for Your Stove
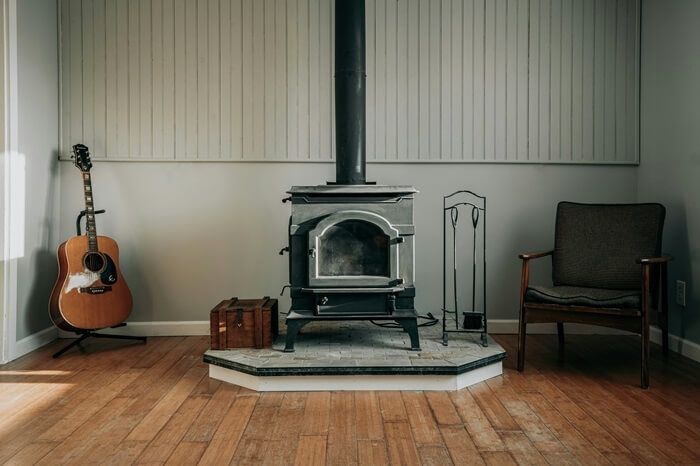
- Clearance to combustibles: Ensure your stove is far enough from walls, curtains, and furniture.
- Ventilation: The room should allow enough fresh air to ensure safe combustion.
Do You Need Building Permits?
Planning Permission
In some U.S. locations, you may need a building permit. Check with your local code authority before beginning any work.
Building Code Compliance
All installations must comply with U.S. building and fire safety codes, including UL-listed components and minimum chimney height rules.
Types of Chimney Systems for Wood Stoves
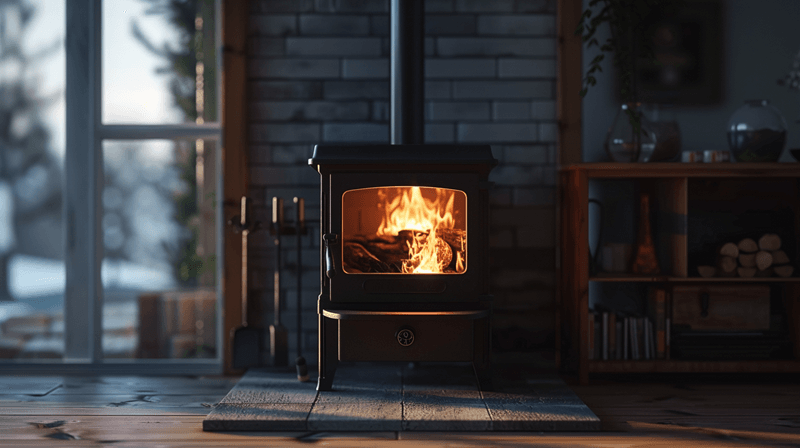
- Interior Chimney System:
- Great heat retention
- Requires going through ceilings and roof
- Needs firestops and insulation
- Exterior Chimney System:
- Mounted on outer wall of the home
- Easier to install with fewer framing cuts
- Must be insulated to prevent draft loss
- Flexible Chimney Liner (for masonry chimneys):
- Ideal for older homes
- Liner runs inside the existing brick chimney
- Improves safety and efficiency
Step-by-Step Installation
1. Mark the Flue Route
- Mark roof or wall exit, flue brackets, and ceiling pass-through points.
- Measure all distances to ensure compliance with code.
2. Set the Stove in Place
- Place the stove on a non-combustible hearth (stone, tile, or brick).
- Maintain proper clearance per manufacturer guidelines.
3. Install the Chimney System
Interior System
- Cut holes in ceiling and roof, install fire stops and attic insulation shields.
- Use UL-listed double wall Class A chimney pipe.
Exterior System
- Use a wall thimble where the pipe exits the home.
- Secure all vertical sections with wall brackets.
- Ensure the flue extends at least 3 ft above the roofline and 2 ft higher than anything within 10 ft.
Flexible Liner
- Lower the liner into the masonry chimney from the top.
- Connect to an adapter at the stove and use insulation wrap if required.
Final Steps
- Seal joints: Use high-temp sealant on flue pipe connections.
- Install rain cap: Prevents rain and debris from entering.
- Perform a draft test: Ensure your stove draws properly before first use.
Ongoing Safety and Maintenance
- Annual cleaning: Remove creosote buildup from the chimney.
- Install CO detectors: Especially important in tightly sealed homes.
- Professional inspection: Hire a certified chimney sweep once per year.
Need expert advice or product recommendations? Contact us or check out our FAQ page.







