
A wood burning stove is the perfect addition to any home, offering unparalleled warmth and a cozy, inviting atmosphere on chilly winter evenings. After spending hours researching the ideal model, balancing heat output, user-friendly features, stunning design, and the perfect size for your space, you’ve finally made the investment. The chimney has been expertly swept and lined, the hearth is set with beautiful tiles, and the installation is complete. Your stove looks fantastic.
But now comes the big question: how do you light it?
If you’re wondering how to light a wood burning stove for the first time or looking for tips to improve your fire-starting technique, you’re in the right place. This guide will walk you through every step, from preparing your materials to getting your fire burning efficiently and safely. We’ll also share some essential tips to keep your fire roaring and make the most of your log burner.
Before you begin, it’s important to note that every stove is unique. Always check your manufacturer's instructions for specific guidelines to ensure you’re using your wood-burning stove correctly and safely.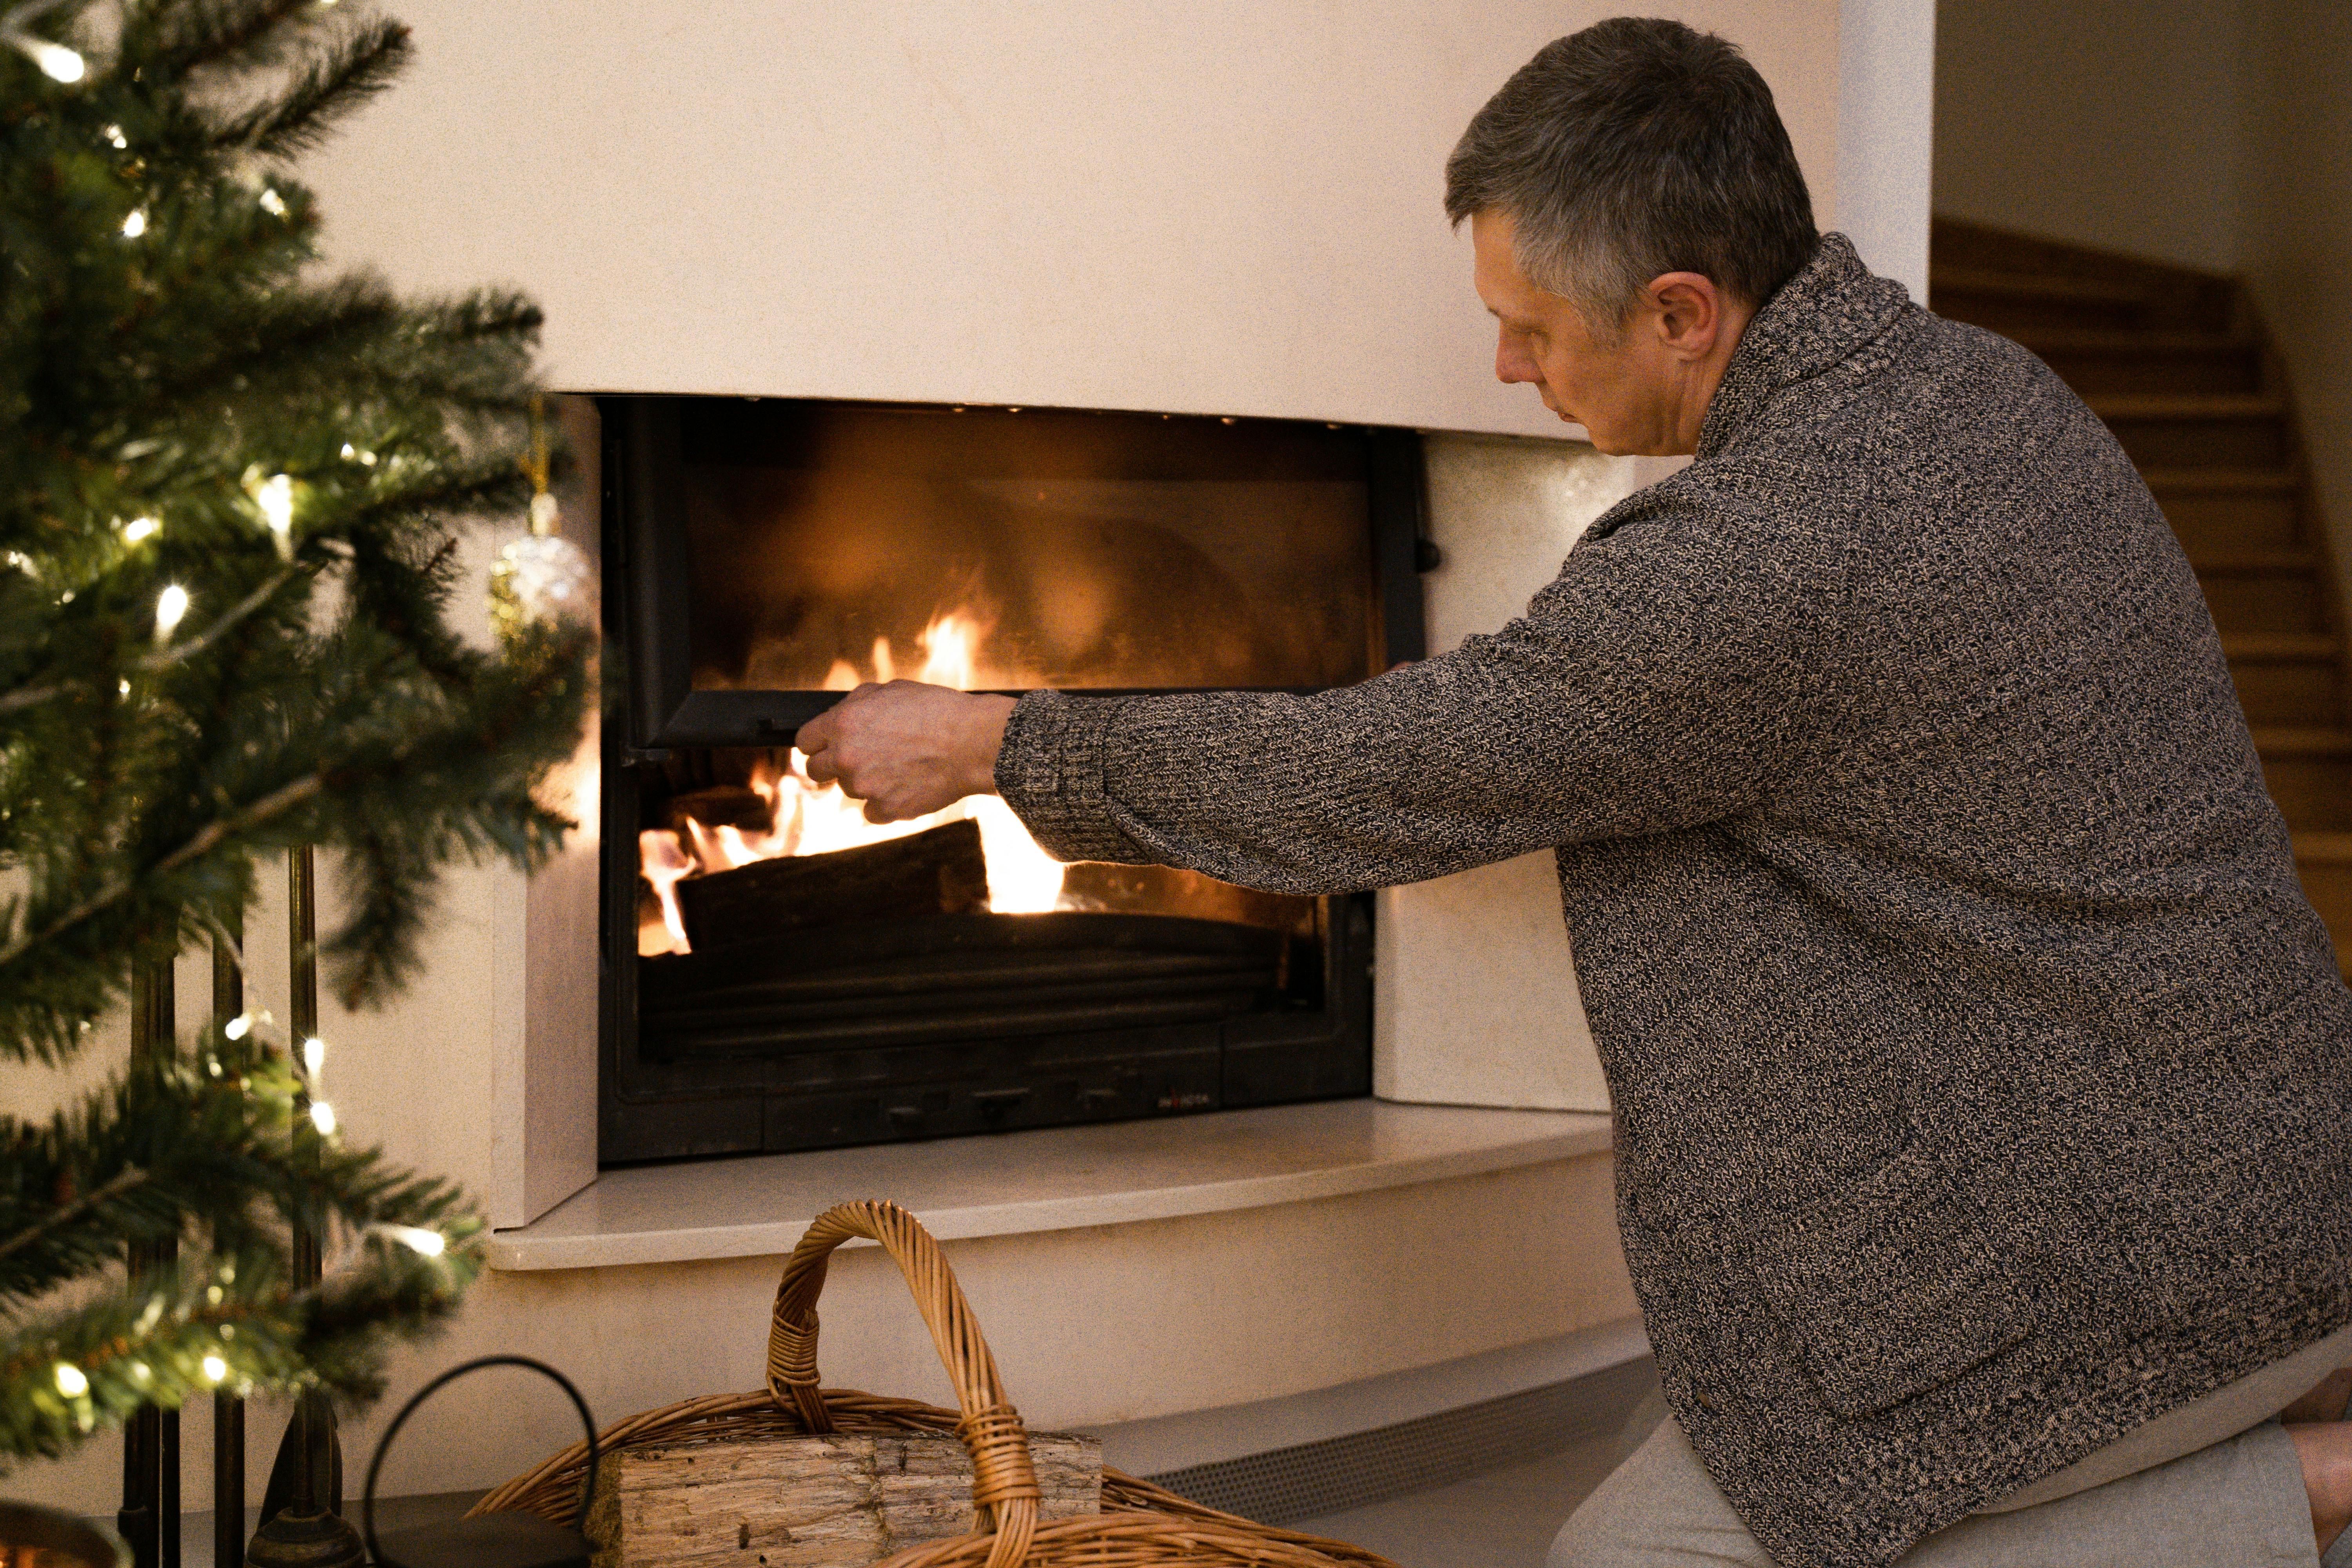
Gather the Perfect Fire-Starting Materials
Lighting a wood-burning stove starts with having the right materials ready to go. The quality of your fuel and tools can make the difference between a quick, clean ignition and a frustrating battle with damp logs and endless smoke. Here’s everything you’ll need to build the perfect fire:
- Kindling: Think small and dry! Thin sticks, twigs, or chopped pieces of wood are ideal for creating that initial burst of flames. Kindling acts as the bridge between your firelighters and the larger logs, so make sure it’s lightweight and easy to ignite.
- Larger Logs: The stars of the show. Use kiln-dried or well-seasoned logs with less than 20% moisture content. Wet or green wood doesn’t just produce excess smoke — it also wastes energy that could be spent warming your home. Look for logs with a light color and visible cracks, signs that they’re properly seasoned.
- Matches or a Firelighter Wand: Safety first! Choose long matches or a specialized firelighter wand to ignite your kindling without putting your hands too close to the flames.
- Paper: While not strictly necessary, a little bit of newspaper can serve a dual purpose. It’s great for testing your stove’s chimney draw by lighting a piece inside the firebox. If the smoke rises smoothly up the chimney, you’re good to go.
- Firelighters: These handy little cubes are a fire-starter’s best friend. Designed to burn steadily, they make lighting your fire quick and stress-free. Unlike paper, they don’t create excessive ash or embers, ensuring a cleaner start.
By assembling these materials before you light your stove, you’ll save yourself time and frustration. Proper preparation means your fire will catch quickly, burn brightly, and keep you warm all evening.
Choosing the Right Wood for Your Log Burner
One of the most important steps in lighting a fire in your wood-burning stove is choosing the right kind of wood. After all, not all wood burns the same. So, what’s the best choice to ensure a clean, efficient, and long-lasting fire?
Hardwood vs. Softwood: What’s the Difference?
Both hardwood and softwood can be used in a wood burner, but each has its own strengths.
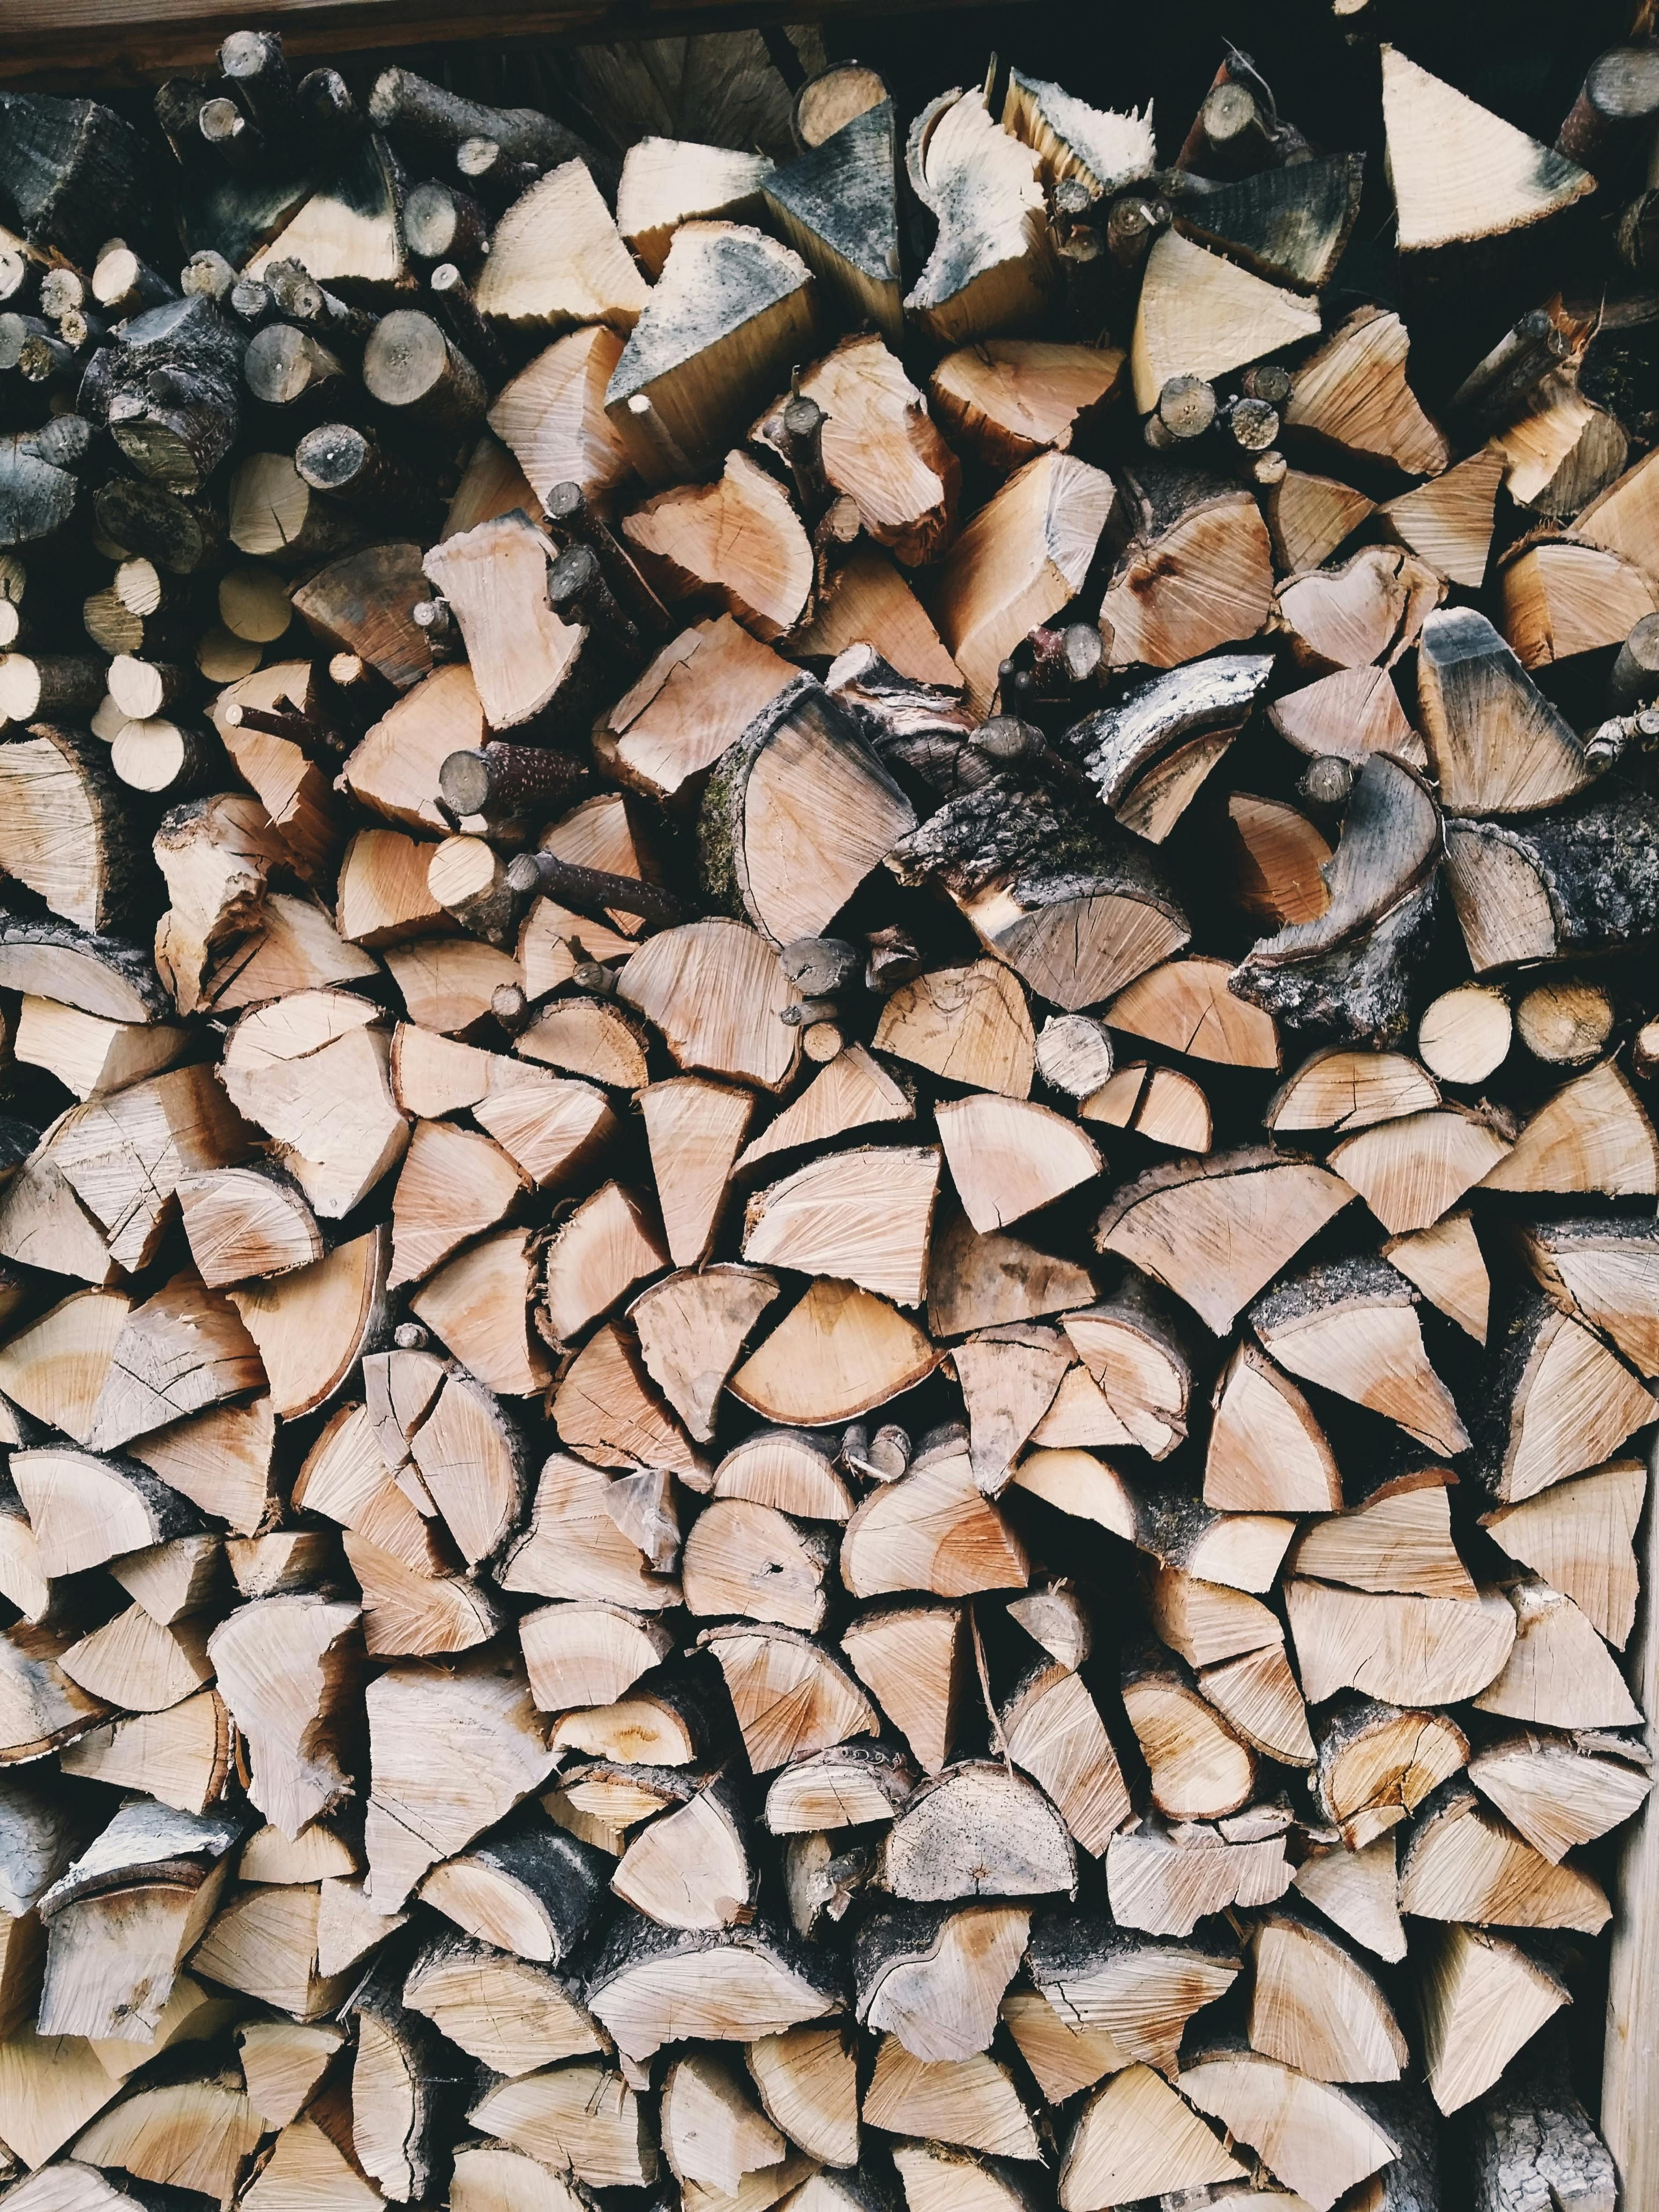
- Hardwoods such as oak, ash, and beech are prized for their long, slow burn and high heat output. These dense woods are perfect for maintaining a steady fire through cold evenings. However, hardwoods are often more expensive and may take longer to season properly.
- Softwoods like pine, spruce, or fir are a more affordable option and can work just as well—if they’re dry enough. Softwoods ignite quickly and are excellent for getting a fire going, but they tend to burn faster and produce more soot.
Whether you opt for hardwood or softwood, the golden rule is this: dry wood is king.
Why Dry Wood is Essential
Burning damp or unseasoned wood is a recipe for frustration. Wet wood struggles to light, produces excessive smoke, and leaves behind sticky creosote in your chimney, which can lead to blockages or even fires. Worse still, it wastes energy that could have been used to heat your home.
To guarantee a good burn, always choose wood with a moisture content of 20% or less. Kiln-dried wood is an excellent choice, as it’s dried in controlled conditions to ensure optimal performance. Alternatively, you can use seasoned wood that’s been left to dry for at least six months, preferably in a well-ventilated area protected from rain.
For added peace of mind, look for Woodsure-certified wood, which guarantees it’s “ready to burn.” This certification ensures you’re using wood that meets moisture content standards, making it ideal for a roaring, efficient fire.
What Not to Burn
While it might be tempting to throw any old timber into your stove, it’s crucial to avoid certain materials. Painted or treated wood can release harmful chemicals when burned, as can plywood and chipboard. And while it should go without saying, never burn garbage, plastic, or other household waste. Not only will these materials stink up your home, but they’ll also release toxins and pollutants into the air, posing health risks for you and your family.
By choosing high-quality, dry wood and avoiding unsuitable materials, you’ll not only enjoy a cleaner, warmer fire but also protect your stove and flue system from damage.
Mastering the Damper: A Key Step
Before you even strike that first match, your wood-burning stove needs to be fully prepped, and one of the most critical steps is ensuring the damper is open. This small but mighty feature is your stove's gateway to proper airflow. Typically located at the top or front of your stove, the damper acts like a valve, regulating how much oxygen reaches your fire. If you’re unsure where to find it, don’t worry—your manufacturer’s manual will point you in the right direction.
To start a fire successfully, the damper must be completely open. Think of it as giving your fire the green light to roar to life. When the damper is wide open, oxygen can freely flow into the stove, creating the ideal conditions for ignition. A restricted airflow at this stage will only cause frustration, resulting in a smoky mess and a fire that stubbornly refuses to catch.
Once your fire is blazing away, you can adjust the damper to control the fire’s intensity. Opening it wider allows more air in, which fuels a hotter, more vigorous fire. On the flip side, partially closing it slows the burn, making the fire last longer and reducing heat output—perfect for those times when you want a more mellow warmth.
If your stove comes with a secondary damper, typically located in the flue or chimney pipe, make sure it’s also open before lighting your fire. This extra damper plays a similar role, helping maintain optimal airflow. Again, your manual will confirm if your model has one and provide specific operating instructions.
The Dangers of Closing the Damper Completely
It might seem logical to close the damper entirely once the fire is going, but this is a serious safety hazard. Without proper ventilation, smoke builds up inside the stove, which not only disrupts combustion but also leads to the formation of creosote—a sticky, tar-like substance that clings to the walls of your flue. Creosote isn’t just messy; it’s highly flammable and a leading cause of chimney fires.
By keeping the damper open during the early stages and managing it thoughtfully as the fire develops, you’ll enjoy a cleaner burn, a safer chimney, and a much more enjoyable wood-burning experience.
Positioning Kindling: The Foundation of Your Fire
With your damper open and materials ready, it’s time to start building the base of your fire. The kindling is the star of this stage, acting as the foundation that helps your logs catch fire effectively. To get started, place a small amount of kindling directly in the center of the stove, on top of the ash pan.
The ash pan, typically found at the bottom of the stove, collects ash from previous fires. Positioning your kindling here allows for optimal airflow, as air can flow up from beneath and through the kindling, ensuring a clean and steady ignition. Think of it as creating the perfect platform for your fire to thrive.
Choosing and Arranging Kindling
Kindling works best when it’s small, dry, and easy to ignite. Pieces of twigs, thin wood shavings, or pre-cut sticks are ideal. The drier the kindling, the quicker it will catch fire and create the heat necessary to ignite the larger logs.
When arranging your kindling, avoid tightly packing it together. Instead, loosely pile the sticks into a pyramid or crisscross structure, leaving enough space for air to circulate between them. Airflow is crucial at this stage, as it ensures the fire has the oxygen it needs to grow.
Once your kindling is burning well and producing steady flames, you can begin adding small pieces of dry wood. This gradual buildup will help create a stable fire that can support larger logs without choking or going out.
Build the Perfect Structure with Small Pieces of Wood
With your kindling in place, it’s time to layer small pieces of dry wood around it. The arrangement of these pieces is crucial, as the right structure helps your fire ignite and burn efficiently. The most effective method is to form a tent or tepee shape with the wood. This design allows air to flow freely through the center, reaching the kindling and helping it catch fire quickly.
When positioning the small wood pieces, ensure they are close enough to the kindling to ignite easily once the flames take hold. However, leave enough space between them to allow for proper airflow. If the wood is packed too tightly, it can smother the fire before it has a chance to grow. The goal is to create a balanced structure where air and flames can move freely.
Safety First
While it might be tempting to pile in as much wood as possible, avoid overfilling your stove. Overloading restricts airflow, making it harder for your fire to stay alight and causing excessive smoke. Poor airflow can also lead to incomplete combustion, which means less heat and more soot buildup in your flue.
Billowing smoke isn’t just unpleasant—it can pose a safety hazard by increasing the risk of creosote buildup in your chimney. Keep your wood burner’s load reasonable and focus on building up the fire gradually for a cleaner, safer burn.
By carefully arranging small pieces of wood around your kindling, you’ll create the perfect conditions for a fire that burns strong, steady, and safe.
Add Larger Logs to Your Fire
With the flames from your smaller wood now burning steadily, it’s time to introduce larger logs. This step isn’t just about adding fuel; it’s about building the heart of a fire that will provide long-lasting warmth and comfort. Done right, these logs will turn your kindling into a sustained, glowing fire that can heat your home with minimal effort.
Start by placing one or two larger logs on top of the smaller, burning wood. The key is balance: leave enough space between the logs for air to circulate. Without proper airflow, even the best logs won’t catch fire efficiently. Don’t rush to add too many at once—begin with a few and gradually build up as the fire grows stronger.
Why Larger Logs Matter
Larger logs serve as the backbone of your fire. Their density allows them to burn for longer periods, delivering consistent heat and reducing the need for constant stoking. By choosing kiln-dried or well-seasoned logs with less than 20% moisture content, you’ll also avoid unnecessary smoke and creosote buildup in your chimney.
When placing the logs, stagger them slightly rather than stacking them directly on top of one another. This layout ensures that the flames can reach all sides, helping the logs catch fire more quickly and burn more evenly. A well-arranged fire is not just efficient—it’s mesmerizing to watch as it dances across the logs.
Expect a Dip, But Stay Patient
A slight dip in flames after adding a new log is completely normal. The fire needs time to heat the new wood to the point of ignition. Resist the urge to poke or adjust too soon—let the fire do its job. Within a few minutes, the flames will surge back to life, brighter and more robust than before.
Adding larger logs is about timing and precision. By layering them thoughtfully and leaving room for airflow, you’ll create a fire that burns cleanly and efficiently, filling your home with warmth and an inviting glow.
Lighting the Kindling: Igniting Your Fire’s Foundation
Now that your fire is carefully built, it’s time for the moment of truth: lighting the kindling. This is where the magic begins, transforming your meticulously arranged wood into a warm, glowing fire.
To get started, use a firelighter or long-stemmed matches to ignite the kindling. A firelighter is especially helpful for providing a steady, controlled flame that helps catch as much of the kindling on fire as possible. Long-stemmed matches are another great option, keeping your hand at a safe distance while allowing you to reach the heart of the fire. If necessary, don’t hesitate to use a second match to ensure the kindling ignites evenly.
As the flames begin to grow, let the fire burn slowly at first. This gradual process allows the flue to heat up, creating a good draft that will help pull smoke up the chimney instead of letting it linger inside your stove. Avoid rushing to add more wood or closing the stove too quickly, as the fire needs time to establish itself.
A Crucial Tip About the Damper
While the fire is starting, keep the damper fully open. This is vital, as the fire relies on an ample oxygen supply to grow. Closing the damper too early can smother the flames, leading to a frustrating restart. Let the kindling burn brightly and consistently before making any adjustments to the airflow.
Lighting the kindling is more than just striking a match—it’s the first step in creating a cozy, efficient fire that will warm your home for hours. With patience and attention, you’ll soon have a steady flame that’s ready for larger logs.
Adjusting the Damper: Fine-Tuning Your Fire
Once your fire is burning steadily and the flames are well-established, it’s time to take control of your stove’s heat output by adjusting the damper. The damper is your primary tool for regulating how much oxygen reaches the fire, which in turn affects its intensity and efficiency.
If you’re looking to boost the heat output, open the damper wider. A fully open damper allows maximum airflow, feeding your fire more oxygen and increasing its burn rate. On the other hand, if the room is getting too warm or you want to stretch your fire’s lifespan, close the damper slightly. A narrower gap reduces the oxygen supply, slowing the fire and producing a more moderate heat output.
How to Monitor and Adjust
Keep an eye on your fire as it burns to decide whether further adjustments are necessary. If the flames appear weak or there’s excessive smoke inside the stove, it’s a sign you may need to open the damper a bit more. Conversely, if the fire seems overly vigorous and is burning through your logs too quickly, closing the damper slightly can help balance the airflow.
For stoves equipped with a secondary damper in the flue or chimney, don’t forget to adjust this as needed. Like the main damper, the secondary damper plays an important role in controlling airflow and maintaining an efficient fire.
A Quick Safety Reminder
It’s worth repeating: never fully close the damper while your fire is burning. Doing so restricts airflow entirely, which can lead to excessive smoke inside the stove and the dangerous buildup of creosote in your chimney. Creosote is not only messy—it’s a serious fire hazard. Keeping the damper slightly open ensures proper ventilation, protecting both your stove and your home.
By adjusting the damper thoughtfully, you’ll create a fire that burns efficiently, safely, and comfortably, perfectly tailored to your heating needs.
Closing the Stove Door: The Final Step to a Perfect Fire
Your fire is blazing, the damper is set just right, and the room is beginning to fill with warmth. Now it’s time to close the stove door and let your wood burner do what it does best. Properly closing the door isn’t just a finishing touch; it’s an essential step for maintaining an efficient, safe, and long-lasting fire.
Why Closing the Door Matters
Sealing the stove door keeps the heat contained within the firebox, significantly boosting burn efficiency. When the door is even slightly ajar, heat escapes, and your fire has to work harder to maintain the desired temperature. This not only wastes fuel but can also result in a less consistent heat output.
An open or improperly sealed door can also cause airflow issues. Fires rely on a controlled oxygen supply to burn cleanly and efficiently. Too much airflow from an open door disrupts this balance, potentially cooling the fire and leading to incomplete combustion. This can result in more creosote forming in your chimney—a problem you want to avoid to reduce the risk of chimney fires.
Another key benefit of a closed door is that it eliminates draughts. This ensures that your fire burns steadily and prevents smoke from puffing back into the room, keeping your space warm, clean, and comfortable.
Safety First: Protect Yourself from Heat
Stove doors can become incredibly hot, so always prioritize safety when handling them. Invest in a sturdy pair of heat-resistant stove mitts or use a specialized tool to open and close the door. Some stoves come with cool-touch handles, but it’s always wise to err on the side of caution. Avoid touching the body of the stove with bare hands, as it retains heat even after the fire has burned out.
By securely closing the stove door, you’re locking in warmth, maximizing your fire’s efficiency, and ensuring a safer burn. Now, sit back, relax, and enjoy the cozy atmosphere you’ve created with your beautifully maintained wood-burning stove.
Maintaining the Perfect Fire
With your fire burning beautifully, your job isn’t entirely done. Maintaining a wood-burning stove requires a bit of ongoing attention to ensure it remains efficient, safe, and cozy. The key is to monitor the fire and make small adjustments as needed.
Managing Your Fire
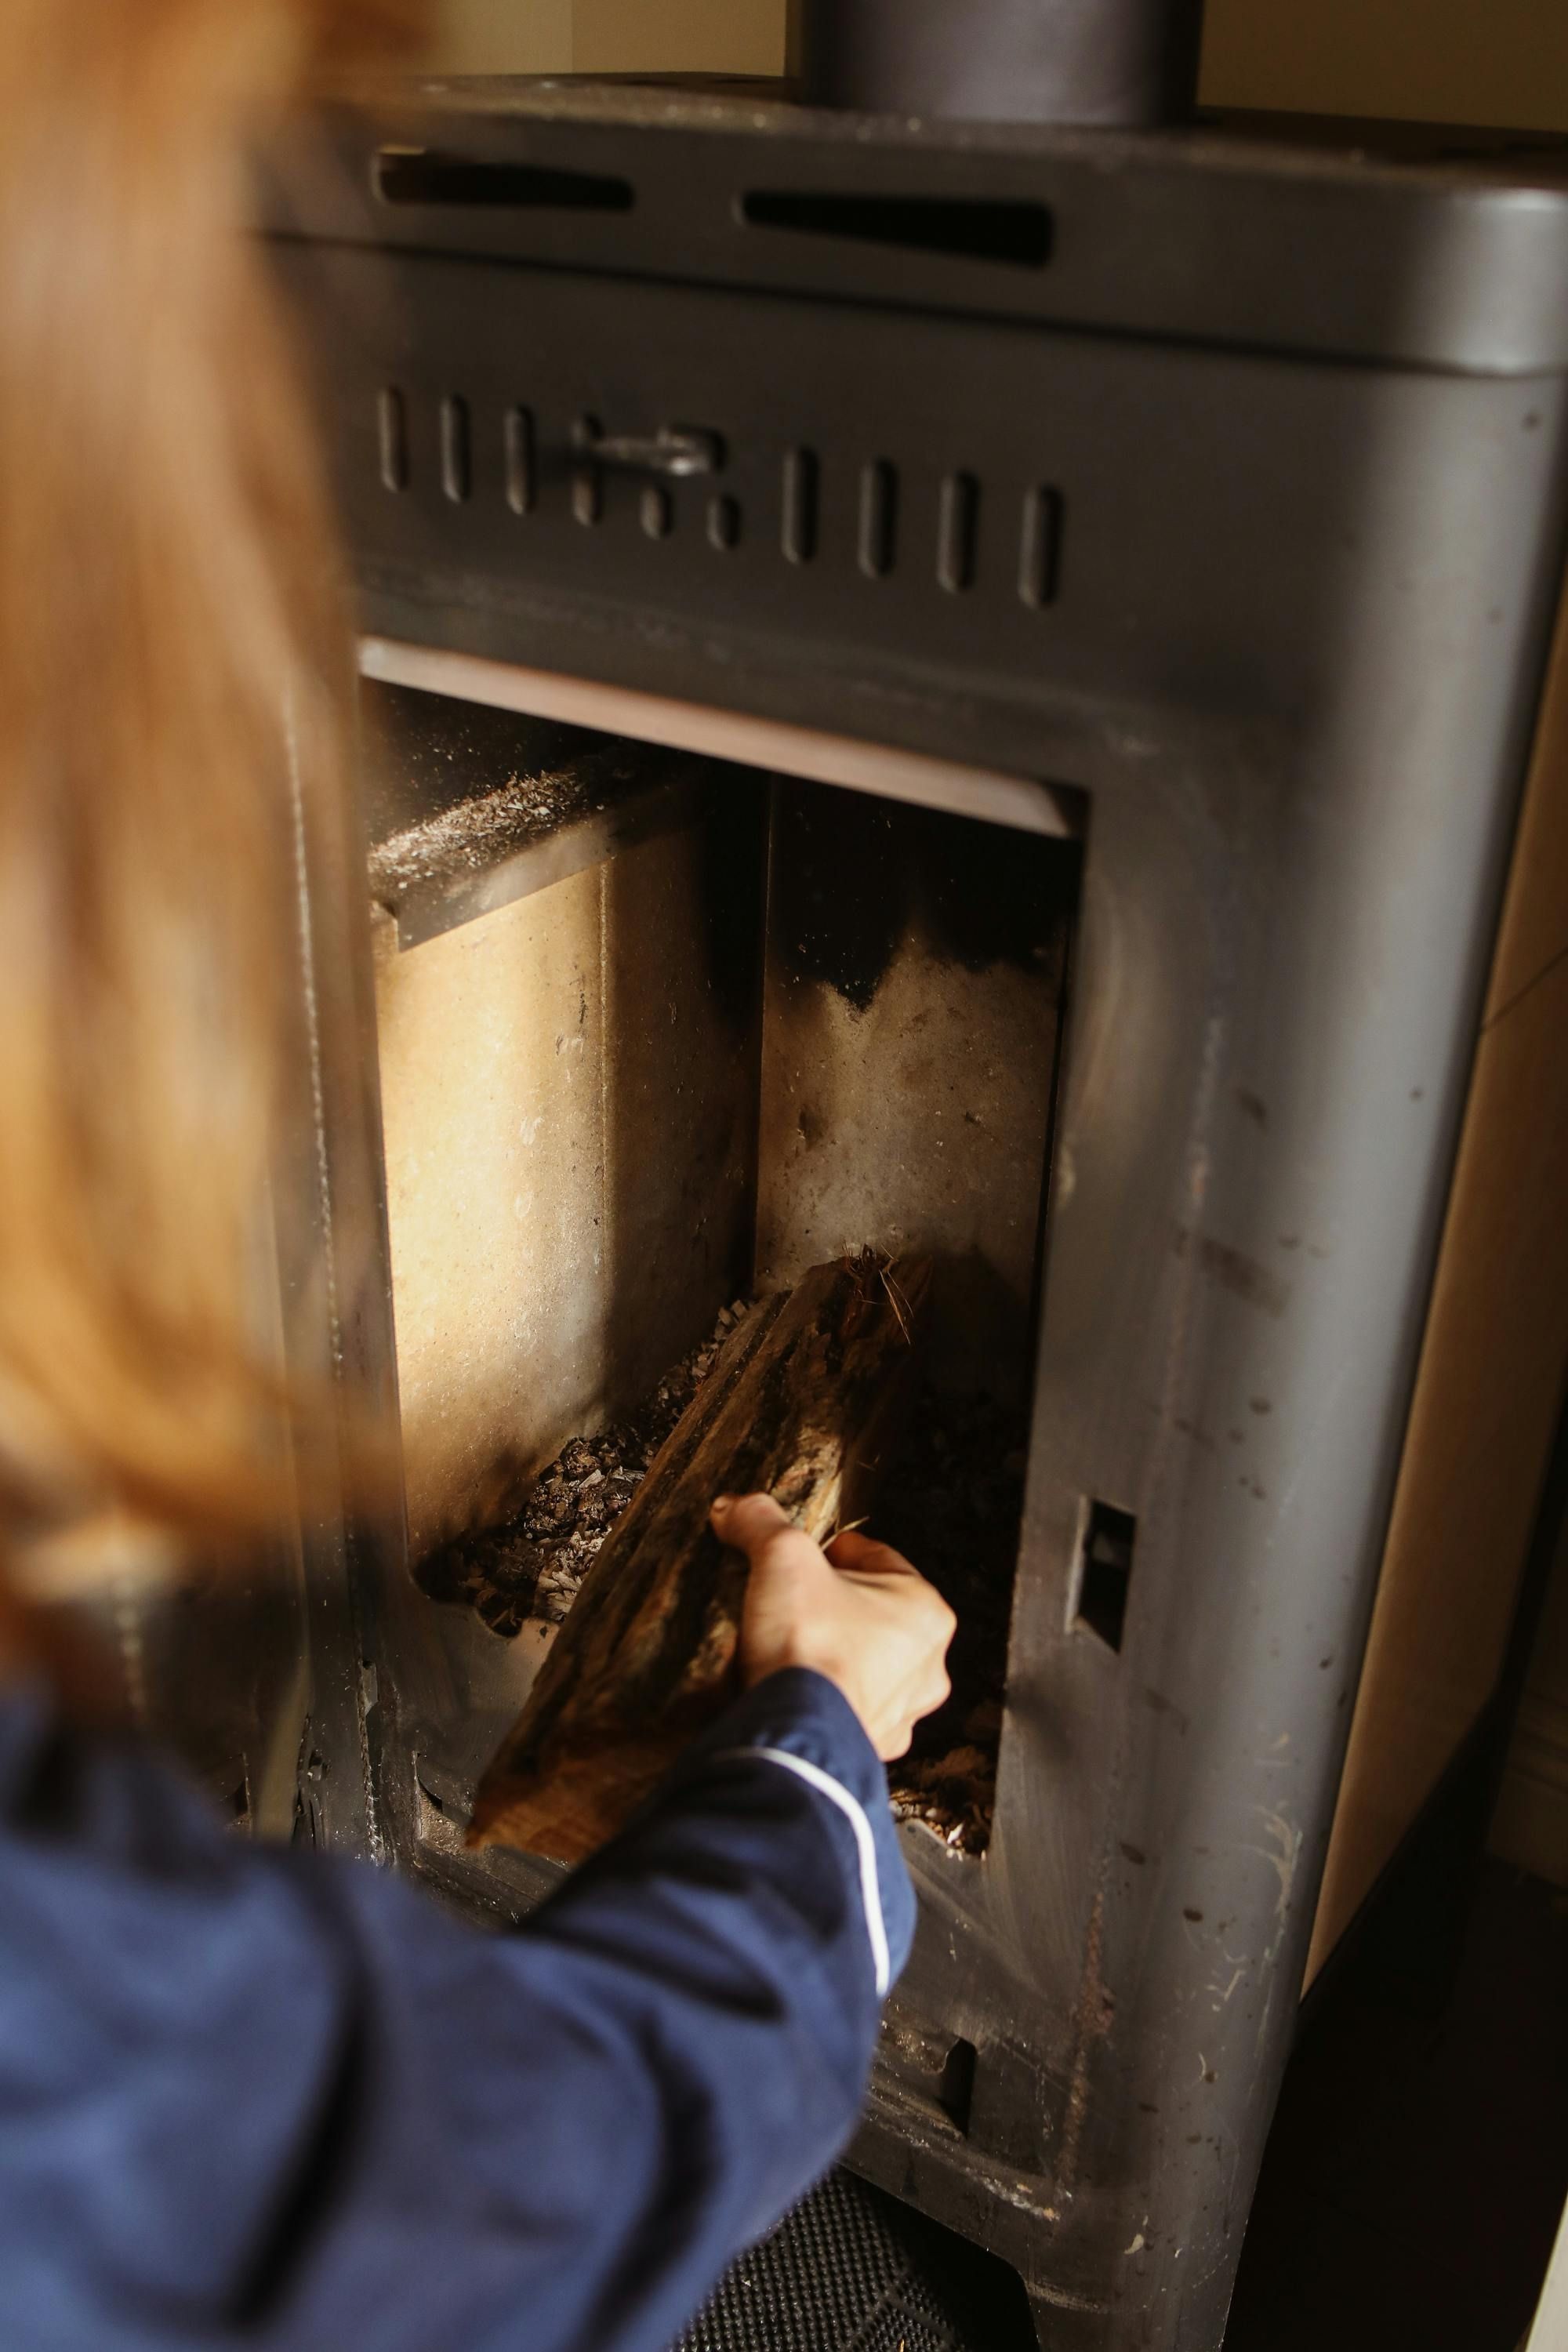
Keep an eye on how the fire is burning. If it begins to die down, add more wood or kindling to keep it going. However, timing is crucial—wait until the existing logs have burned down to embers or are burning strongly before adding new fuel. This prevents smothering the fire, which could lead to excess smoke and inefficiency.
Pay close attention to the ash pan. Ash is a natural byproduct of wood burning, and while a small layer can help insulate the fire and make it easier to relight later, too much can block airflow. Once the ash reaches about one inch deep, it’s time to carefully remove it. A clean ash pan ensures optimal airflow and helps your fire burn more efficiently.
Safety First: Never Leave Your Stove Unattended
As warm and inviting as your fire is, it requires your supervision. Never leave your wood stove unattended while the fire is burning. If you’re heading to bed or leaving the house, give yourself plenty of time to let the fire burn out completely and safely cool down.
By keeping a close watch on your stove and making small adjustments when necessary, you’ll not only enjoy a beautifully maintained fire but also ensure the safety of your home and loved ones. So, sit back, admire your handiwork, and bask in the warmth of your well-tended stove.
Putting the Fire Out: Safely Ending Your Burn
When it’s time to wind down, extinguishing your fire safely and effectively is just as important as lighting it. Properly putting out your fire not only protects your home but also ensures that your wood-burning stove stays in excellent condition.
Let the Fire Burn Down
The safest way to put out your fire is to let it burn naturally until only embers remain. Avoid adding more wood and allow the flames to subside on their own. Once the fire is down to glowing embers, you can close the damper to restrict the oxygen supply. This step will suffocate the remaining embers and prevent them from reigniting.
Cooling the Stove
Before you leave the room or head to bed, always ensure that your stove has cooled completely. Leaving the door slightly ajar while the stove is still warm can help it cool faster by allowing the heat to dissipate. Never leave the stove unattended if there are still active flames or hot embers inside.
Post-Fire Maintenance
After the stove has cooled, take a moment to check it over. Clear out the ash pan to prevent buildup, as excess ash can restrict airflow the next time you light a fire. Inspect the stove for any visible damage or wear, such as cracks or warping, and ensure the door seals and glass are intact. Regular maintenance like this will help keep your stove operating safely and efficiently.


