
.jpg)
Walk into any stove showroom or browse any flue pipe webshop and you will immediately notice two distinct product families: bright silver stainless steel pipes and matte black steel pipes. Both connect a stove to a chimney. But they are very different products with different applications, lifespans, and price points. This guide explains everything you need to know to make the right choice.
Read More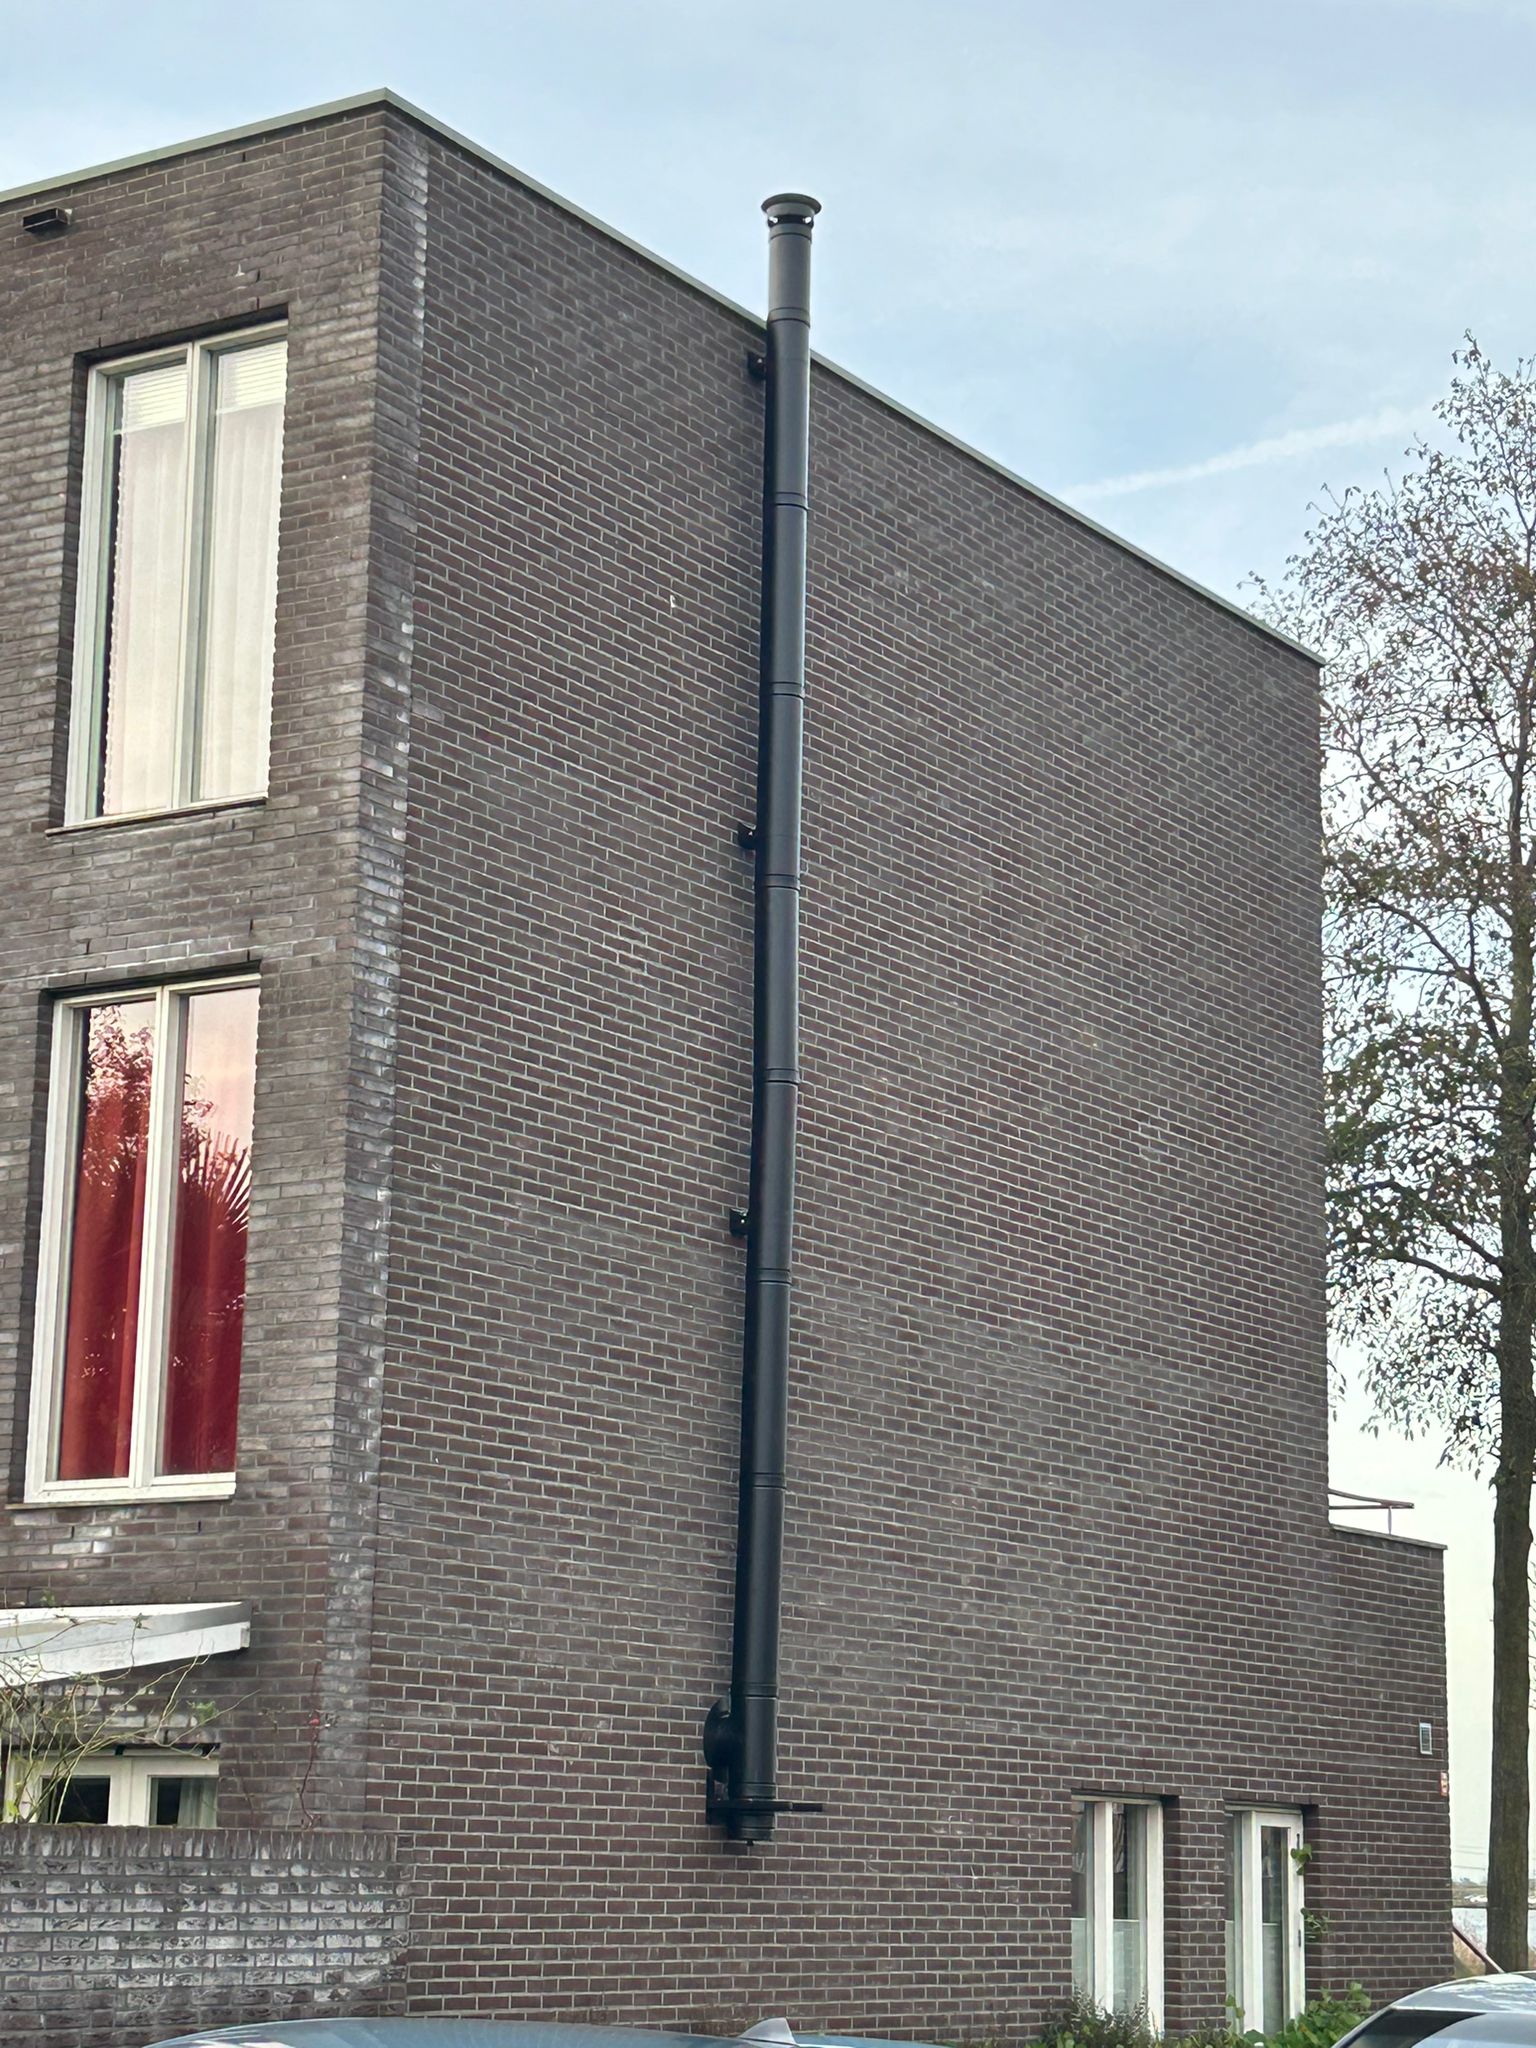
Installing a wood-burning stove is one of the most rewarding home improvements you can make. Done correctly, it provides years of efficient, cosy heating. Done incorrectly, it is a serious fire and carbon monoxide risk. This guide walks you through every stage of the flue pipe installation process — from planning to first fire.
Read More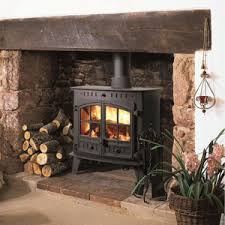
One of the most common mistakes when buying flue pipes is ordering the wrong diameter. Too small and your stove will not draw properly, producing smoke and dangerous carbon monoxide. Too large and you risk poor draft, excessive condensation and tar deposits. This guide shows you exactly how to measure and choose the correct flue diameter.
Read MoreA clean flue pipe is not just a matter of efficiency — it is a matter of safety. Creosote and soot deposits are the leading cause of chimney fires in every country where wood-burning stoves are used. A well-maintained flue system performs better, lasts longer, and keeps your home safe. This guide explains what deposits form, how to clean them, and how often maintenance is required.
Read MoreHere you will find direct official sources where you can find the Boat Safety Scheme (BSS) requirements on stove/flue installations for boats in the UK
Read More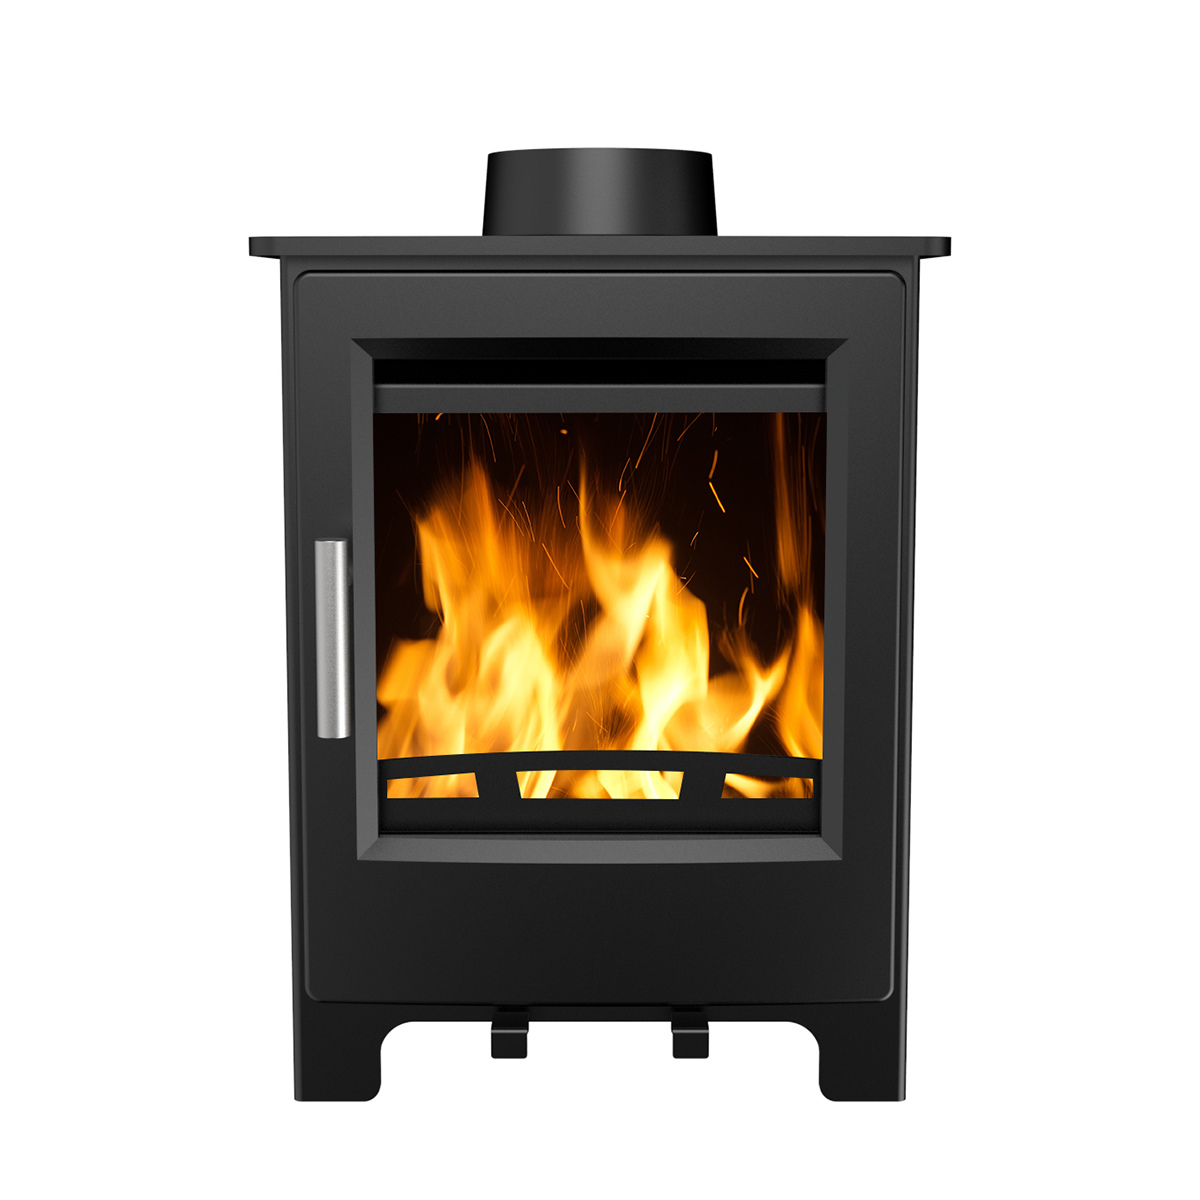
Choosing a stove should be simple. That is why we only offer the most reliable and popular 5 kW wood and multifuel stoves for UK homes. All models are DEFRA Approved, EcoDesign 2022 compliant, and available with both top and rear outlets.
Read More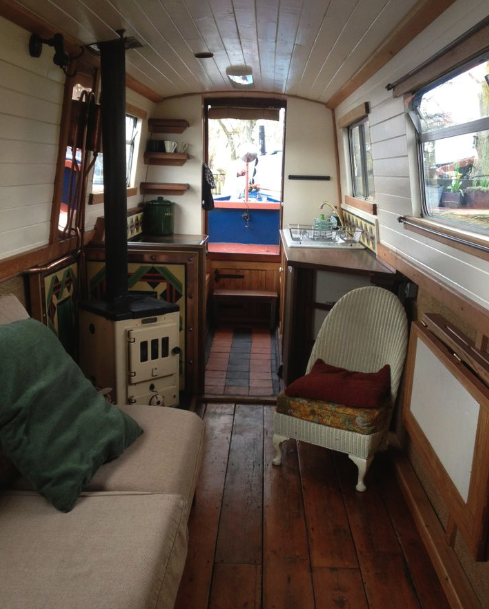
Many boat owners in the United Kingdom choose to install a wood-burning or multi-fuel stove on board. A safe and reliable flue kit is essential for any vessel – whether it is a narrowboat, canal boat, houseboat or cruiser.
Read More
This blog is a complete guide to choosing the best wood for your log burner, covering everything from the benefits of hardwoods and softwoods to proper seasoning and storage techniques. It explains how moisture content, wood density, and responsible sourcing impact efficiency, heat output, and environmental impact. Plus, it debunks common myths about burning wood and offers tips on maintaining your stove and flue for optimal performance and safety.
Read More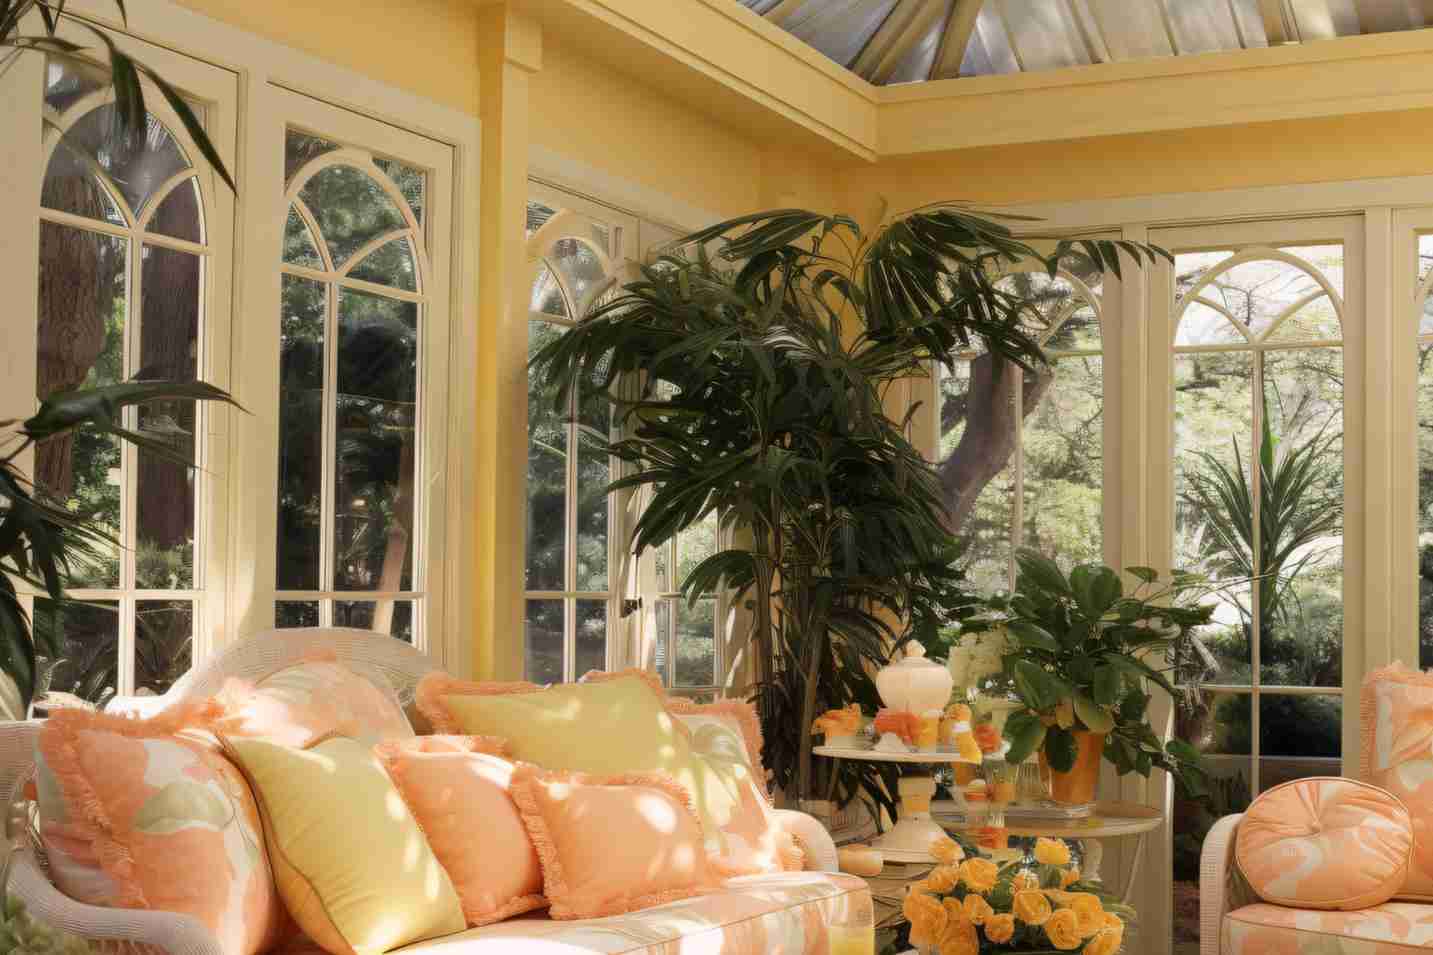
This blog is a complete guide to installing a log burner in a conservatory, covering everything from regulations and installation requirements to the best stove options for your space. It explains whether a wood burner in a conservatory is allowed, what flue systems you need, and how to ensure proper ventilation. Plus, we showcase the best log burners for conservatories, helping you choose the perfect stove for warmth, efficiency, and style.
Read More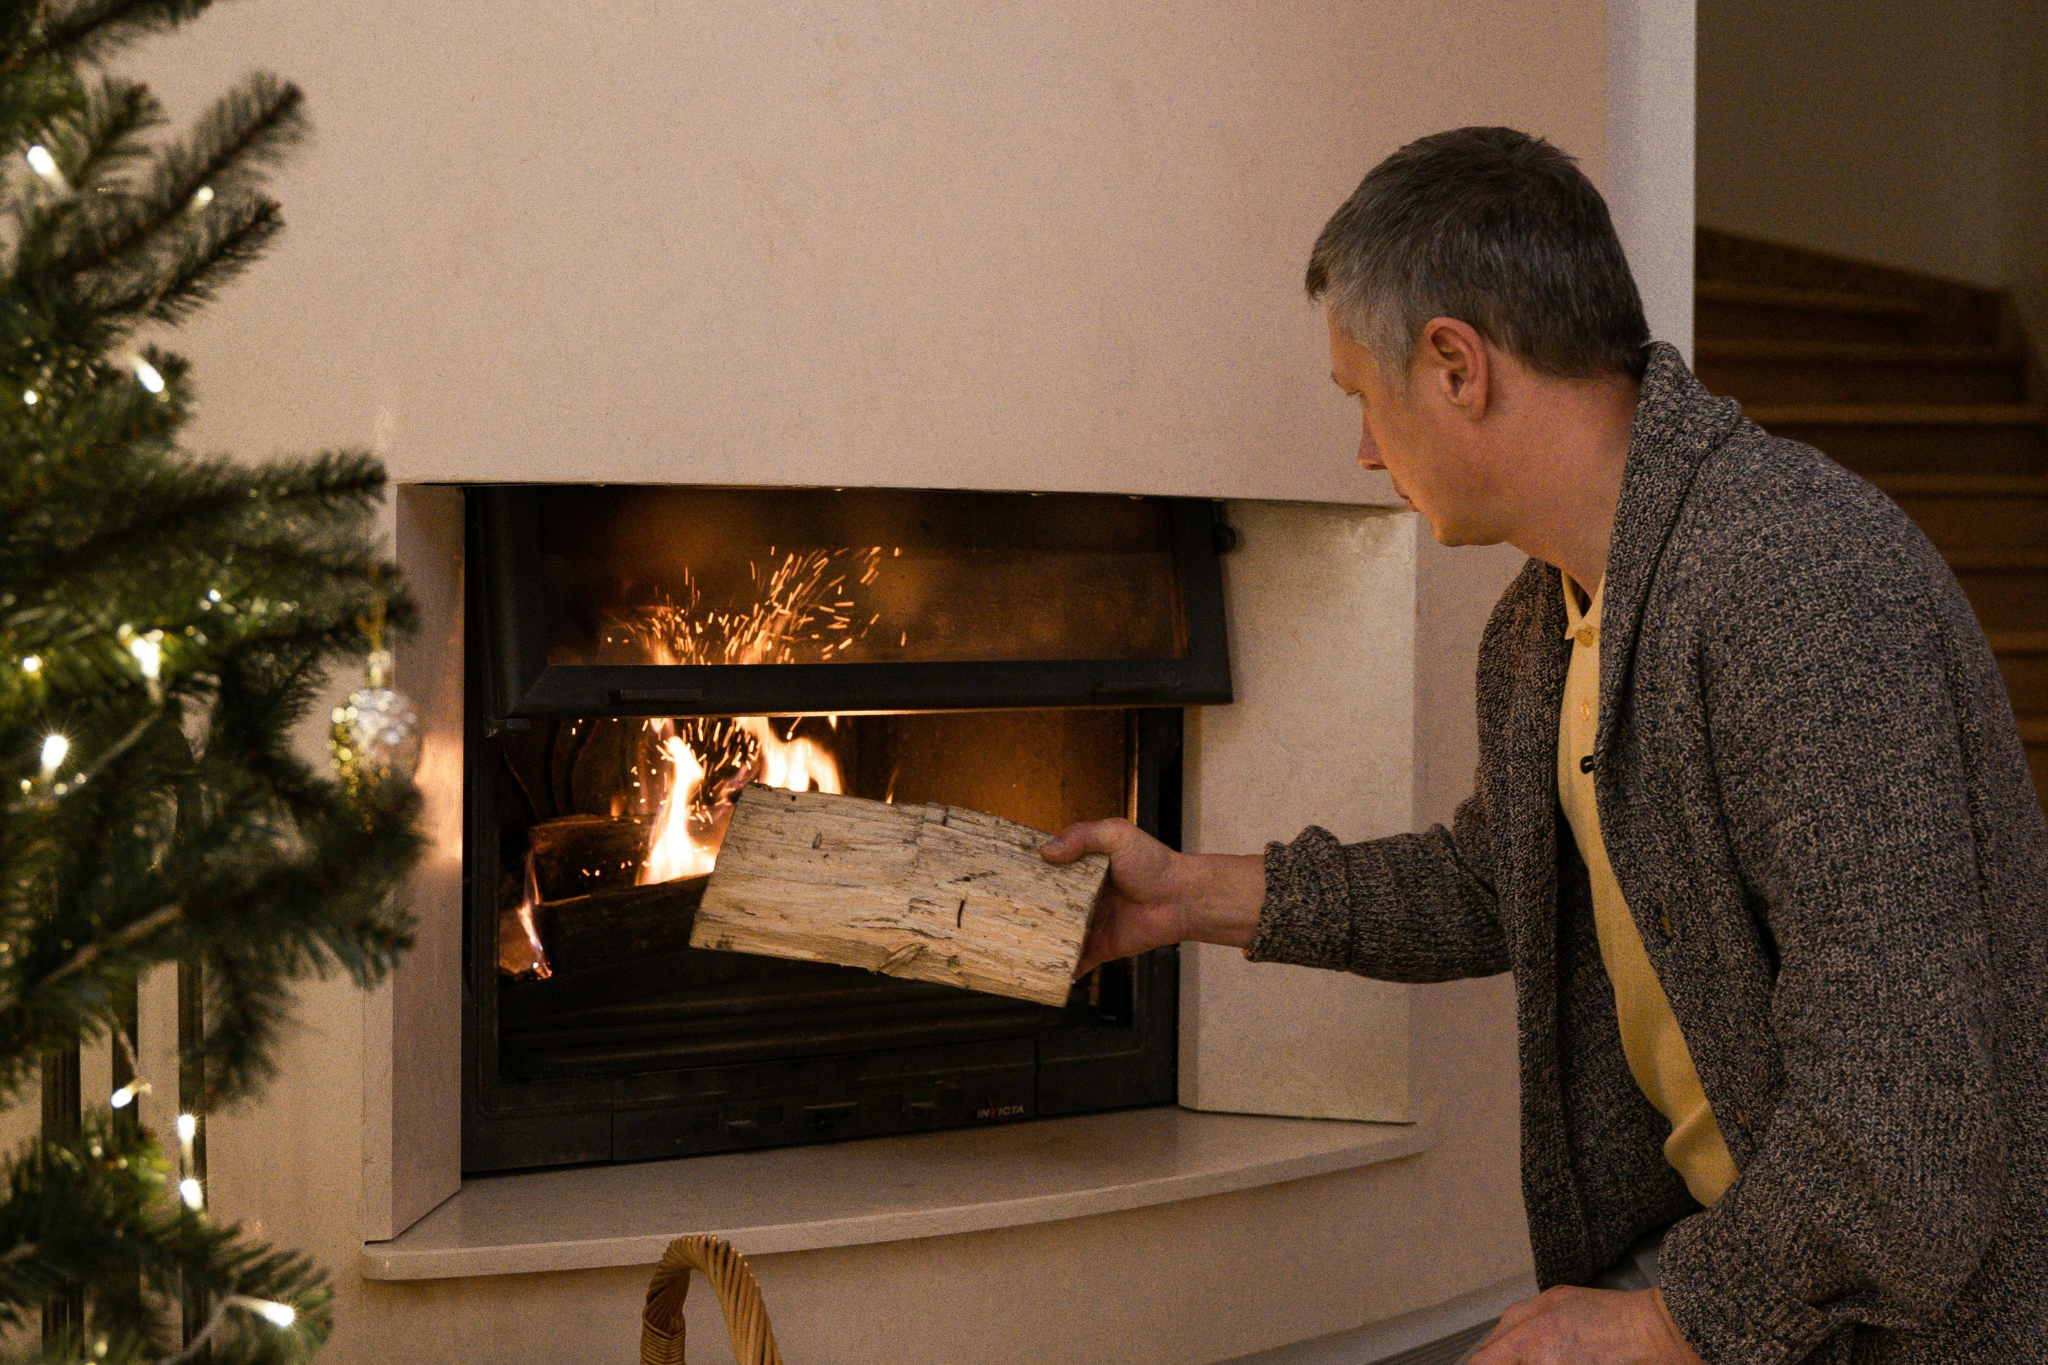
This blog is a comprehensive guide for anyone considering the installation of a wood-burning stove. It covers everything from the initial costs of purchasing and installing a stove to ongoing expenses like chimney maintenance and fuel. Whether you’re planning your first installation or upgrading an existing setup, this guide helps you understand the key factors, additional costs, and expert tips to ensure a safe, efficient, and budget-friendly wood burner installation in 2025.
Read More
This blog is a comprehensive guide for anyone looking to make the most of their wood-burning stove. Whether you’re lighting your stove for the first time or refining your technique, it walks you through every essential step to ensure a safe, efficient, and enjoyable experience.
Read More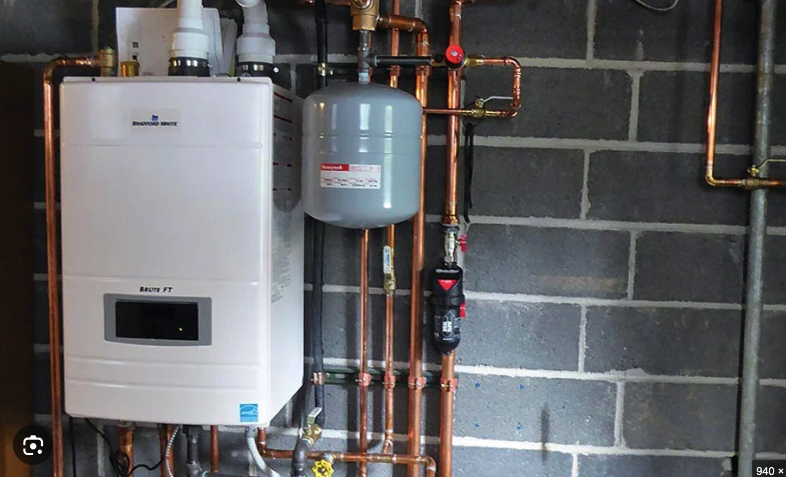
If you’re replacing or maintaining your boiler, it’s a smart move to consider replacing the flue liner at the same time. The type of flue liner for your boiler depends on your system, whether it’s oil or gas-fired, or a modern condensing boiler. Read on to discover the best options for your heating setup.
Read MoreBrows posts by category: